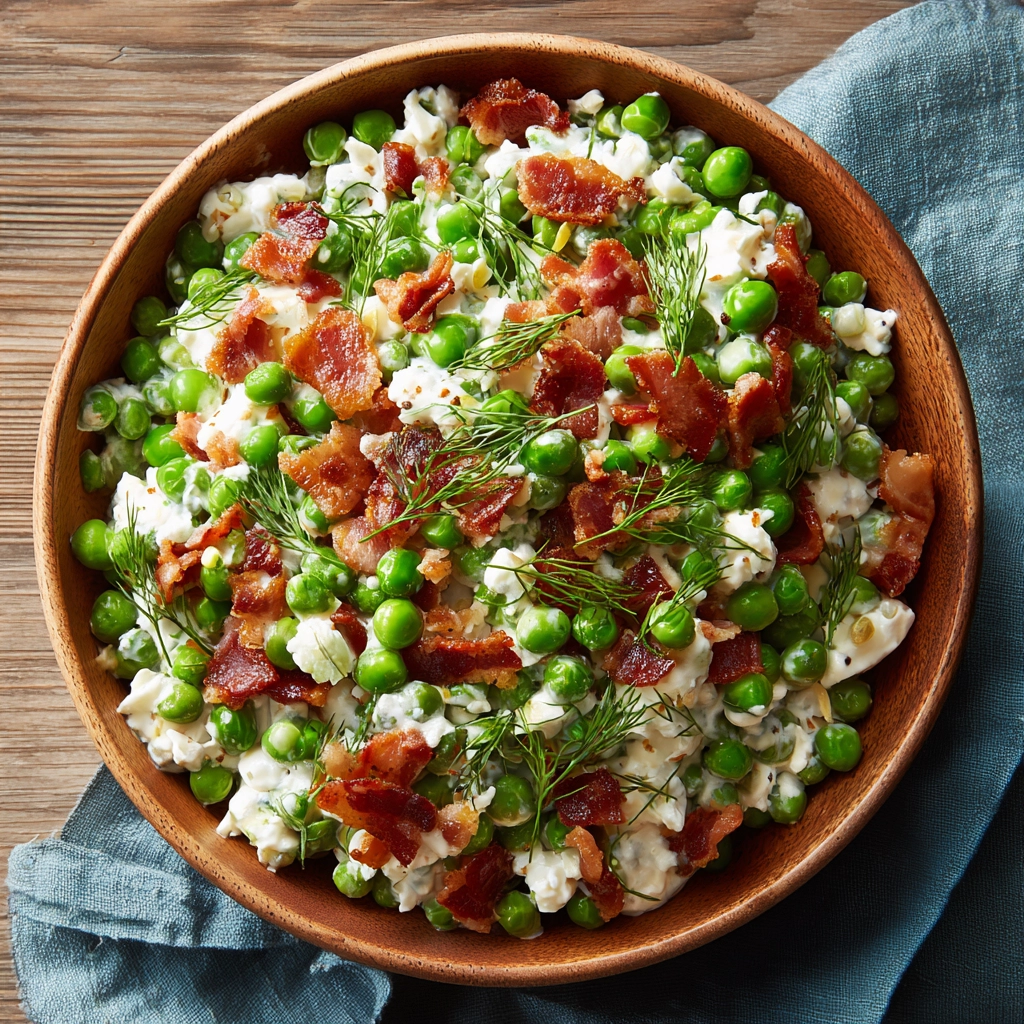
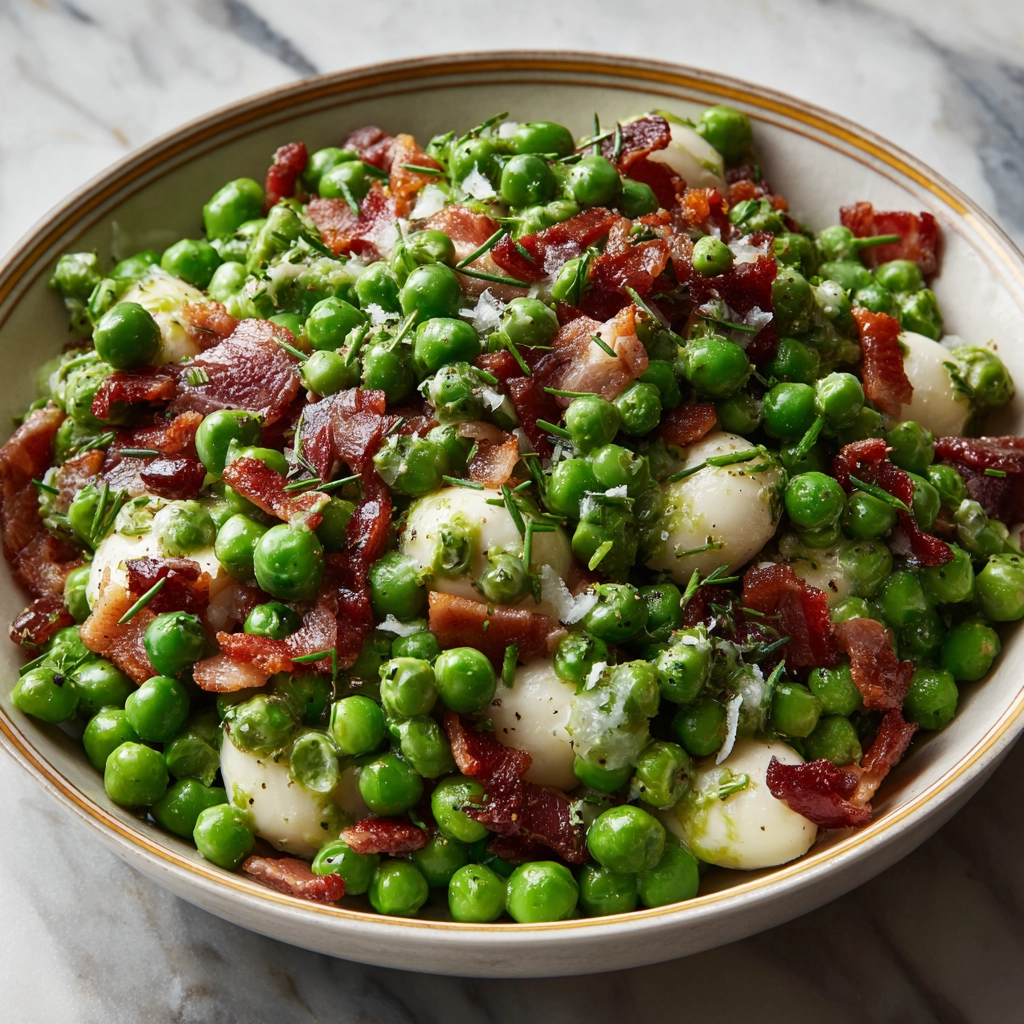
Classic Pea Salad With Bacon Recipe | Easy & Delicious Side Dish
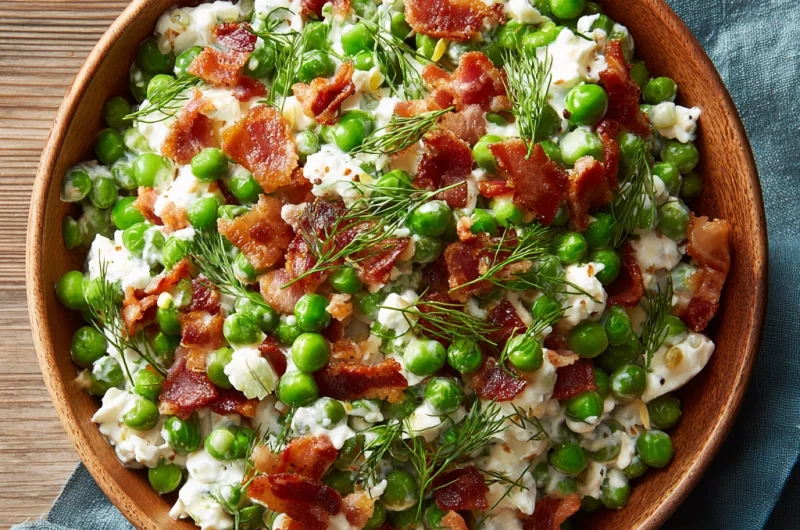
Bright, creamy, and packed with flavor, classic pea salad with bacon is a dish that brings both nostalgia and irresistible taste to any table. Imagine the perfect balance of tender green peas, crispy bacon, creamy dressing, and a touch of sweetness from red onions and cheddar cheese. This salad isn’t just a side dish—it’s a conversation starter at picnics, potlucks, family dinners, and holiday gatherings. Its combination of textures and flavors makes every bite satisfying, while the vibrant green hue adds visual appeal. Whether you’re an experienced cook or just starting in the kitchen, this classic pea salad recipe is simple enough to make any day of the week but special enough to impress guests.
Ingredients Needed
To make this pea salad with bacon, gather the following ingredients. The table below includes approximate calorie counts per serving for those mindful of nutrition:
| Ingredient | Quantity | Calories (per serving) |
|---|---|---|
| Frozen green peas | 4 cups | 100 |
| Bacon strips | 6 strips | 270 |
| Red onion | 1 small, finely chopped | 20 |
| Cheddar cheese | 1 cup, shredded | 440 |
| Mayonnaise | ½ cup | 720 |
| Sour cream | ¼ cup | 120 |
| Sugar | 1 tablespoon | 50 |
| Salt | ½ teaspoon | 0 |
| Black pepper | ¼ teaspoon | 0 |
| Optional: chopped fresh parsley | 2 tablespoons | 5 |
Step-by-Step Cooking Instructions
- Prepare the Peas
Bring a medium pot of water to a boil. Add the frozen peas and cook for 2–3 minutes until tender but still bright green. Drain and rinse under cold water to stop the cooking process. Set aside. - Cook the Bacon
In a skillet over medium heat, cook the bacon until crisp. Remove from the pan and place on a paper towel-lined plate to drain excess fat. Once cooled, crumble the bacon into small pieces. - Mix the Dressing
In a small bowl, whisk together mayonnaise, sour cream, sugar, salt, and black pepper until smooth and creamy. - Combine the Salad
In a large mixing bowl, combine the cooled peas, crumbled bacon, chopped red onion, and shredded cheddar cheese. Pour the dressing over the mixture and gently toss until all ingredients are coated. - Chill Before Serving
Cover the salad and refrigerate for at least 1 hour. Chilling allows the flavors to meld together and enhances the overall taste. - Garnish and Serve
Optional: Sprinkle freshly chopped parsley on top before serving for a pop of color and freshness.
Tips for Customizing the Recipe
- Cheese Variety: Swap cheddar with feta or mozzarella for a different flavor profile.
- Bacon Alternatives: Turkey bacon works well for a lighter option.
- Add Crunch: Toss in sunflower seeds, toasted almonds, or water chestnuts for extra texture.
- Flavor Boost: A squeeze of fresh lemon juice or a dash of smoked paprika adds a zesty twist.
- Vegetarian Version: Skip the bacon and add roasted chickpeas for protein and crunch.
Nutritional Information
One serving (about 1 cup) of classic pea salad with bacon contains approximately:
| Nutrient | Amount per Serving |
|---|---|
| Calories | 200–250 kcal |
| Protein | 8 g |
| Carbohydrates | 15 g |
| Fat | 15 g |
| Fiber | 3 g |
| Sugar | 4 g |
Serving Suggestions
Classic pea salad with bacon pairs beautifully with a variety of meals:
- Serve alongside grilled chicken or steak for a summer barbecue.
- Add to a holiday buffet for a colorful, creamy side dish.
- Enjoy as a light lunch with whole-grain crackers or a slice of crusty bread.
- Use as a potluck favorite—it holds up well when made ahead of time.
Classic Pea Salad With Bacon Recipe
6–8
servings15
minutes10
minutes200-250
kcalIngredients
IngredienttQuantity
Frozen green peast4 cups
Bacon stripst6 strips
Red oniont1 small, finely chopped
Cheddar cheeset1 cup, shredded
Mayonnaiset½ cup
Sour creamt¼ cup
Sugart1 tablespoon
Saltt½ teaspoon
Black peppert¼ teaspoon
Optional: chopped fresh parsleyt2 tablespoons
Directions
- Cook the peas: Boil frozen peas for 2–3 minutes until tender. Drain and rinse under cold water.
- Cook the bacon: Fry bacon until crispy. Drain on paper towels and crumble.
- Mix the dressing: In a small bowl, whisk together mayonnaise, sour cream, sugar, salt, and black pepper.
- Combine ingredients: In a large bowl, mix peas, bacon, red onion, and cheddar. Add the dressing and toss gently.
- Chill: Cover and refrigerate for at least 1 hour before serving.
- Garnish (optional): Sprinkle chopped parsley on top for color and freshness.
Recipe Video
Notes
- Chilling is Key: Refrigerate the salad for at least 1 hour before serving to allow the flavors to meld together.
Peas: Both frozen and fresh peas work well. If using fresh peas, blanch them briefly in boiling water and cool immediately.
FAQs
1. Can I make pea salad with bacon ahead of time?
Yes! This salad actually tastes better when made a few hours in advance, as chilling allows the flavors to meld together. Just cover it tightly and refrigerate for up to 24 hours before serving.
2. Can I use fresh peas instead of frozen peas?
Absolutely. Fresh peas work wonderfully—just blanch them in boiling water for 2–3 minutes and then rinse under cold water to stop cooking.
3. Is there a vegetarian version of this salad?
Yes! You can skip the bacon and add roasted chickpeas, toasted nuts, or smoked tofu for crunch and protein.
4. Can I use a different type of cheese?
Definitely. Cheddar is classic, but feta, mozzarella, or even gouda can give the salad a new flavor twist.
5. How long does pea salad with bacon keep in the fridge?
Properly stored in an airtight container, the salad will stay fresh for up to 2–3 days. Avoid leaving it at room temperature for long periods, especially if it contains mayonnaise.
Conclusion
Classic pea salad with bacon is more than just a side dish; it’s a celebration of textures, flavors, and colors. Its creamy dressing, crunchy bacon, and sweet peas create a harmonious taste that appeals to both kids and adults alike. Easy to prepare, versatile, and endlessly customizable, this salad proves that simple ingredients can produce extraordinary results. Whip it up for your next gathering, and watch it become a favorite that everyone will request again and again.