Cherry Pie Bars Recipe: A Delicious Twist on Classic Cherry Pie
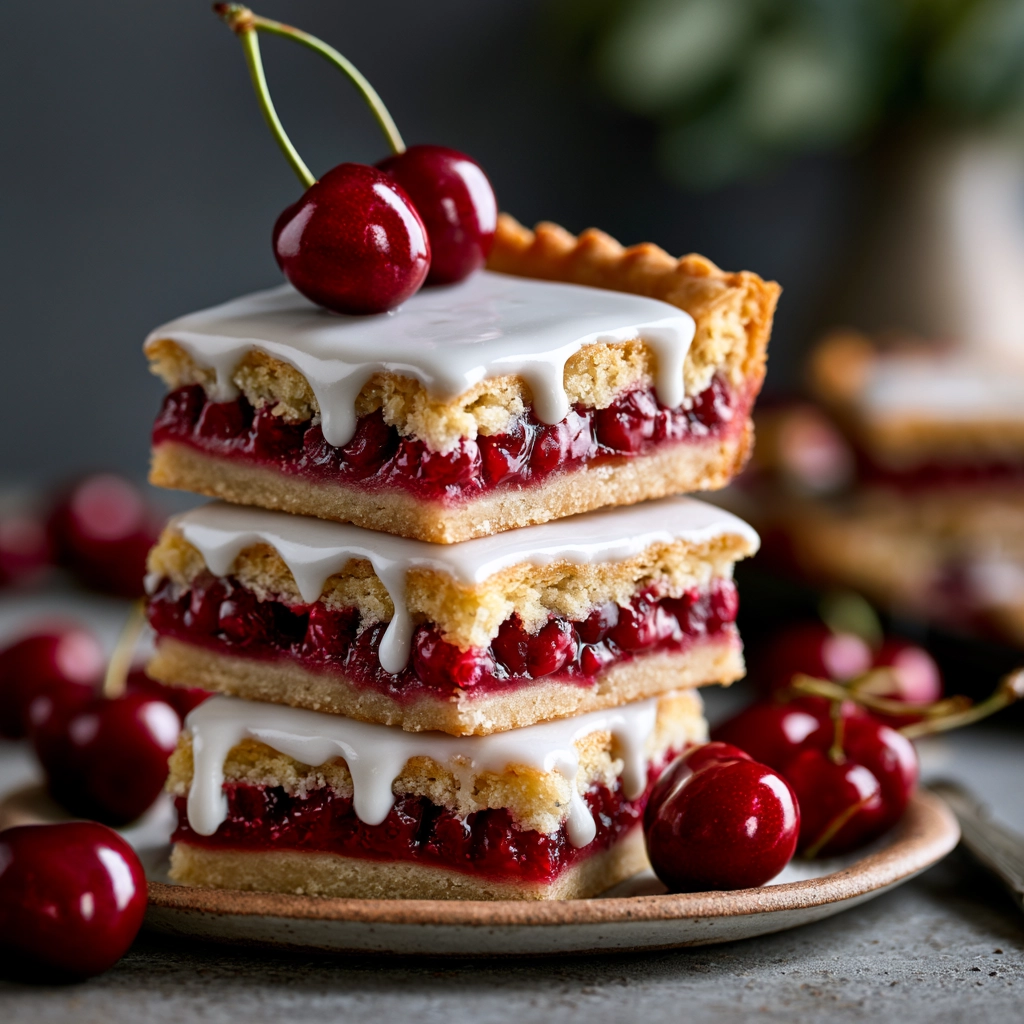
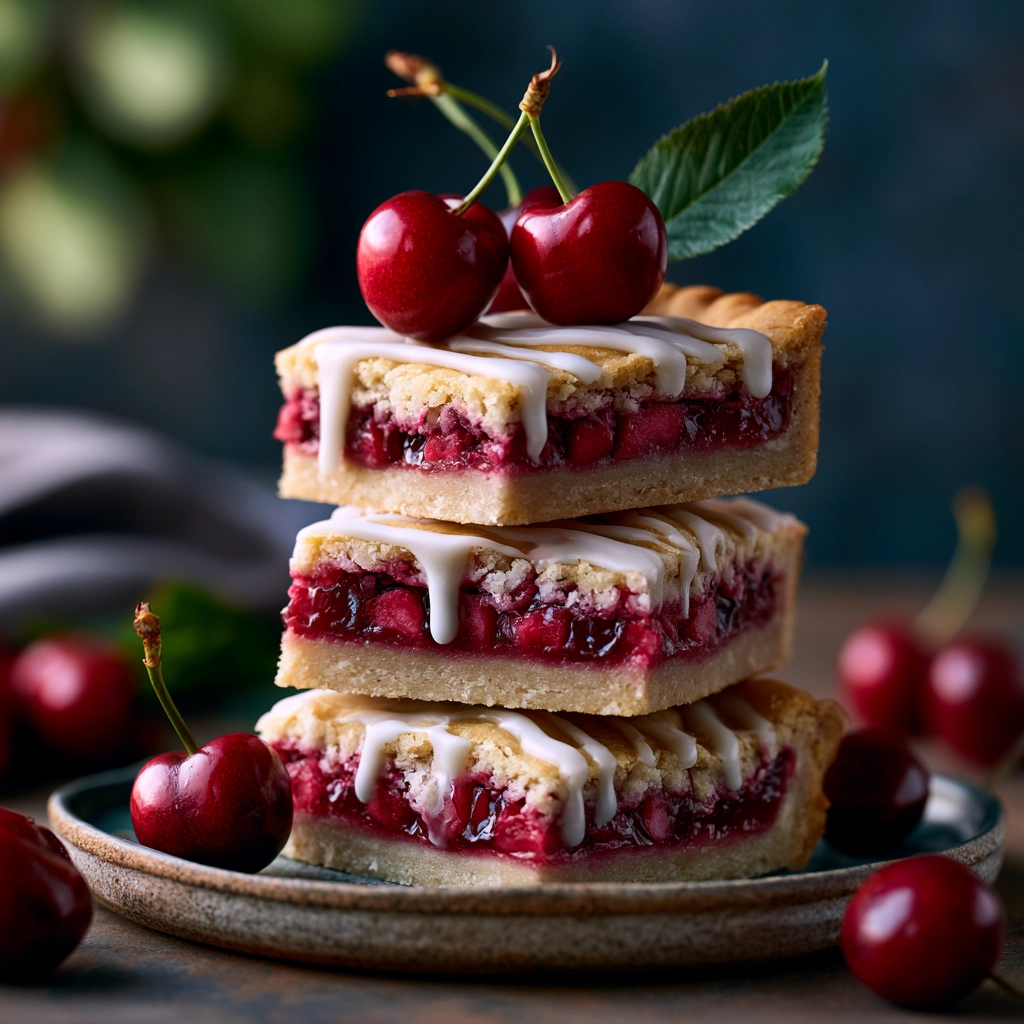
Cherry Pie Bars Recipe bring all the comforting flavors of a traditional cherry pie into an easy-to-make dessert that’s perfect for sharing. Rich, buttery crust layers combined with sweet and tangy cherry filling create a delightful treat that works for everything from family gatherings to holiday celebrations. Unlike a classic pie that requires rolling dough and careful assembly, these bars simplify the process while delivering the same irresistible taste.
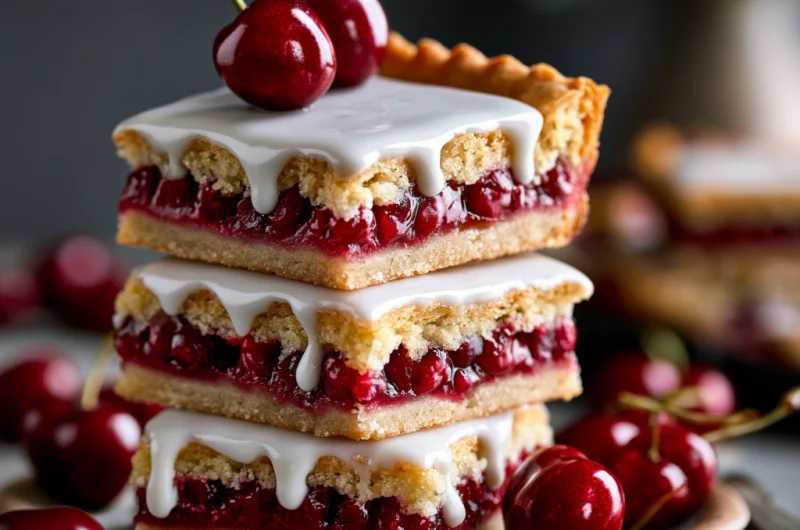
Beautiful ruby-red cherries nestled between layers of soft, cookie-like crust make Cherry Pie Bars as visually appealing as they are delicious. Their portable nature makes them ideal for potlucks, bake sales, picnics, and lunchbox treats. Each bite offers a perfect balance of sweetness, fruitiness, and buttery goodness that keeps people coming back for more.
One of the greatest advantages of Cherry Pie Bars is their versatility. Whether made with canned cherry pie filling for convenience or homemade cherry filling for a more personalized touch, the recipe consistently produces impressive results. Topped with a simple glaze, these bars transform into a bakery-worthy dessert that looks elegant while remaining easy enough for beginner bakers.
Ingredients Needed
The following ingredients yield approximately 16 bars.
| Ingredient | Quantity | Approximate Calories |
|---|---|---|
| Unsalted butter, softened | 1 cup | 1,620 calories |
| Granulated sugar | 2 cups | 1,550 calories |
| Eggs | 4 large | 280 calories |
| Vanilla extract | 1 tsp | 12 calories |
| All-purpose flour | 3 cups | 1,365 calories |
| Salt | 1 tsp | 0 calories |
| Cherry pie filling | 2 cans (21 oz each) | 1,200 calories |
| Powdered sugar (for glaze) | 1 cup | 390 calories |
| Milk | 2 tbsp | 20 calories |
Step-by-Step Cooking Instructions
1: Prepare the Baking Pan
Preheat your oven to 350°F (175°C). Grease a 9×13-inch baking dish or line it with parchment paper for easy removal.
2: Make the Batter
In a large mixing bowl, cream together the softened butter and granulated sugar until light and fluffy. Add the eggs one at a time, mixing well after each addition. Stir in the vanilla extract.
3: Add Dry Ingredients
Gradually mix in the flour and salt until a soft dough forms. Avoid overmixing to maintain a tender texture.
4: Create the Bottom Layer
Spread about three-fourths of the dough evenly into the prepared baking dish. Use a spatula or lightly floured hands to smooth the surface.
5: Add Cherry Filling
Spoon the cherry pie filling evenly over the dough layer, ensuring full coverage from edge to edge.
6: Add the Top Layer
Drop small spoonfuls of the remaining dough over the cherry filling. The filling should still be visible between the dough portions.
7: Bake
Bake for 35–40 minutes or until the top becomes lightly golden brown and the filling is bubbling around the edges.
8: Cool Completely
Remove the pan from the oven and allow the bars to cool completely on a wire rack before adding the glaze.
9: Prepare the Glaze
Whisk together powdered sugar and milk until smooth. Drizzle the glaze over the cooled bars.
10: Slice and Serve
Once the glaze has set, cut into squares or rectangles and serve.
Tips for Customizing the Recipe
Use Homemade Cherry Filling
Fresh or frozen cherries can be cooked with sugar and cornstarch to create a homemade filling with a more natural flavor.
Add Almond Flavor
Cherry and almond pair beautifully together. Add ½ teaspoon almond extract to the batter or glaze for a bakery-style flavor.
Try Different Fruit Fillings
Swap the cherry filling for:
- Blueberry pie filling
- Apple pie filling
- Raspberry filling
- Peach filling
- Mixed berry filling
Add a Crunchy Topping
Sprinkle sliced almonds, chopped pecans, or coarse sugar over the top before baking for extra texture.
Make Them Festive
Decorate with colored sprinkles or seasonal toppings for holidays, birthdays, or special occasions.
Create a Citrus Glaze
Replace the milk in the glaze with lemon juice for a bright, tangy finish that complements the cherries.
Nutritional Information
Approximate values per serving.
| Nutrient | Amount |
|---|---|
| Calories | 402 |
| Carbohydrates | 58g |
| Protein | 4g |
| Total Fat | 17g |
| Saturated Fat | 10g |
| Cholesterol | 75mg |
| Sodium | 180mg |
| Sugar | 39g |
| Fiber | 1g |
Health Considerations
- Enjoy in moderation due to the sugar content.
- Homemade cherry filling can reduce preservatives and allow better control over sweetness.
- Whole wheat flour can be substituted for part of the all-purpose flour to increase fiber.
Serving Suggestions
Serve with Ice Cream
A scoop of vanilla ice cream complements the warm, fruity flavor of Cherry Pie Bars perfectly.
Pair with Coffee or Tea
The sweet cherry filling pairs wonderfully with hot coffee, tea, or cappuccino.
Add Fresh Fruit
Fresh cherries, strawberries, or raspberries create a beautiful dessert presentation.
Include on Dessert Platters
Arrange Cherry Pie Bars alongside cookies, brownies, and mini cheesecakes for an impressive dessert spread.
Serve at Celebrations
These bars are ideal for:
- Family gatherings
- Potluck dinners
- Holiday parties
- Summer picnics
- Birthday celebrations
- Bake sales
Dress Them Up
Top each bar with whipped cream and a fresh cherry for an elegant presentation.
Cherry Pie Bars: A Delicious Twist on Classic Cherry Pie
16 Bars
servings15
minutes35
minutes402
kcalIngredients
For the Bars
1 cup unsalted butter, softened
2 cups granulated sugar
4 large eggs
1 teaspoon vanilla extract
3 cups all-purpose flour
1 teaspoon salt
2 cans (21 ounces each) cherry pie filling
For the Glaze
1 cup powdered sugar
2 tablespoons milk
Directions
- Preheat oven to 350°F (175°C) and grease a 9×13-inch baking pan.
- In a large bowl, cream together butter and sugar until light and fluffy.
- Beat in eggs one at a time, then add vanilla extract.
- Mix in flour and salt until a soft dough forms.
- Spread ¾ of the dough evenly into the prepared baking pan.
- Spoon cherry pie filling evenly over the dough layer.
- Drop spoonfuls of the remaining dough over the cherry filling.
- Bake for 35–40 minutes, or until lightly golden brown.
- Allow the bars to cool completely.
- Whisk together powdered sugar and milk to create the glaze.
- Drizzle glaze over the cooled bars.
- Slice into squares and serve.
Recipe Video
Notes
- Allow the bars to cool completely before adding the glaze to prevent it from melting into the dessert.
For a richer flavor, add ½ teaspoon of almond extract to the batter or glaze. Almond and cherry are a classic pairing.
FAQs
1. What are Cherry Pie Bars?
Cherry Pie Bars are a dessert made with a buttery crust, sweet cherry pie filling, and a light glaze. They offer the flavor of traditional cherry pie in an easy-to-serve bar form.
2. Can I use homemade cherry filling instead of canned pie filling?
Yes. Homemade cherry filling works wonderfully and allows you to control the sweetness and ingredients. Fresh or frozen cherries can be used to make the filling.
3. How do I store Cherry Pie Bars?
Store Cherry Pie Bars in an airtight container at room temperature for up to 2 days or in the refrigerator for up to 5 days.
4. Can Cherry Pie Bars be frozen?
Yes. Once completely cooled, wrap the bars tightly and freeze for up to 3 months. Thaw overnight in the refrigerator before serving.
5. Why did my bars turn out crumbly?
Overbaking or adding too much flour can make the bars crumbly. Measure ingredients accurately and bake only until the top is lightly golden.
Conclusion
Cherry Pie Bars offer all the flavor and comfort of classic cherry pie in a convenient, easy-to-serve format. Their buttery crust, sweet cherry filling, and delicate glaze create a dessert that feels both nostalgic and impressive. Simple ingredients and straightforward preparation make them accessible to bakers of all skill levels, while endless customization options ensure they never become boring.