Huckleberry Crisp Recipe: A Sweet and Rustic Homemade Dessert
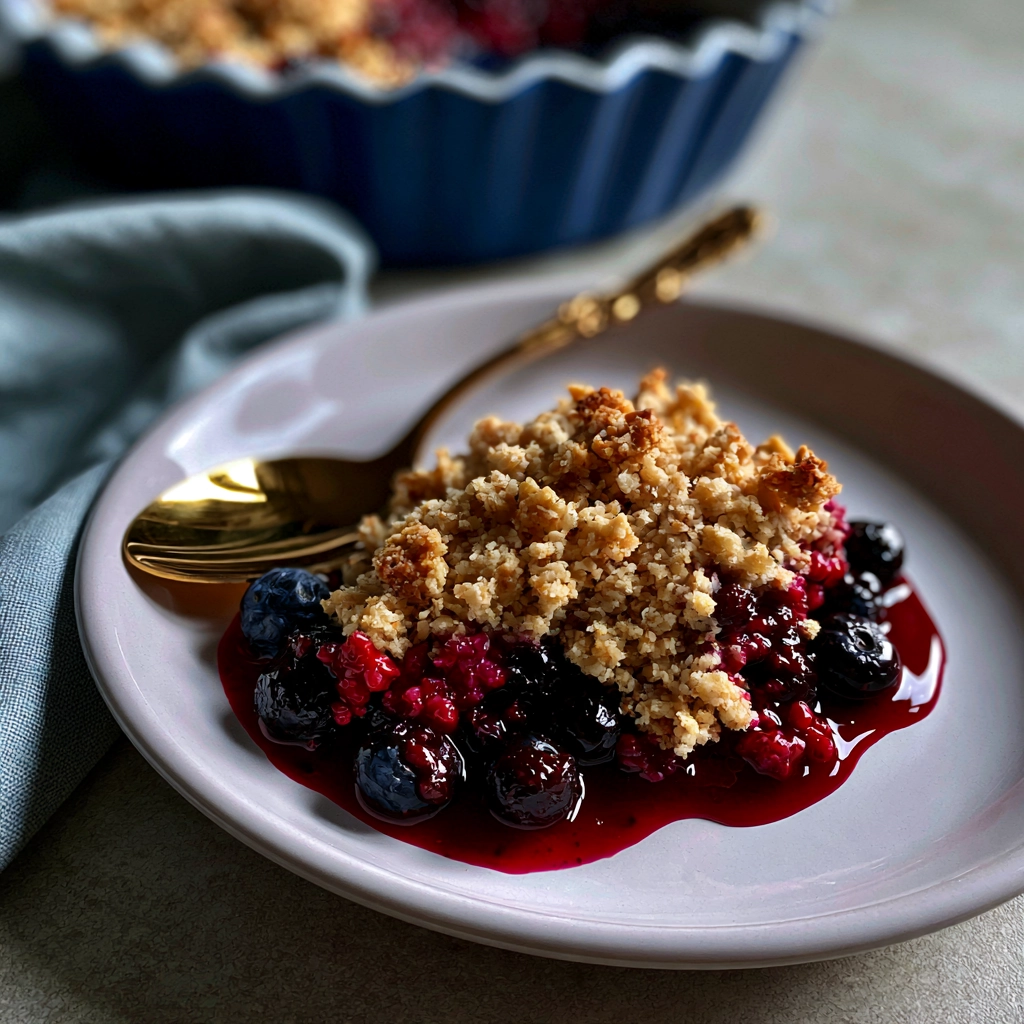
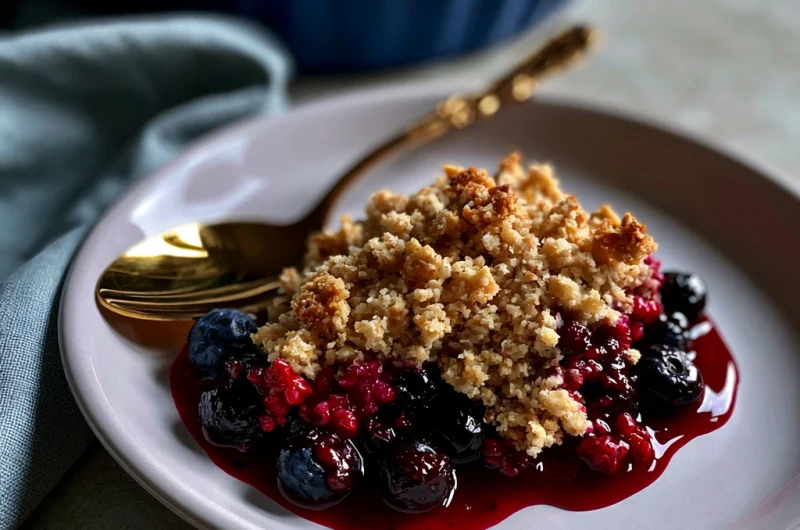
Nothing captures the comforting flavors of homemade baking quite like a warm Huckleberry Crisp Recipe fresh from the oven. Bursting with juicy huckleberries and topped with a buttery, golden oat crumble, this classic dessert strikes the perfect balance between sweet, tart, and crunchy. Whether served at a family gathering, holiday dinner, or casual weekend meal, huckleberry crisp is a timeless favorite that never fails to impress.
Huckleberries are treasured for their vibrant color and bold, slightly tangy flavor, making them an exceptional choice for fruit-based desserts. Similar to blueberries but with a more intense taste, these wild berries become wonderfully soft and jammy as they bake, creating a rich filling that pairs beautifully with a crisp oat topping. Every spoonful offers a delicious contrast of textures—warm, juicy fruit beneath a crisp, buttery layer that’s impossible to resist.
One of the best things about this recipe is its simplicity. Unlike pies that require rolling and shaping pastry dough, a crisp comes together with minimal effort using everyday pantry ingredients. Fresh or frozen huckleberries work equally well, making it easy to enjoy this dessert throughout the year. A touch of cinnamon, brown sugar, and vanilla enhances the berries’ natural sweetness without overpowering their distinctive flavor.
Ingredients Needed
For the Huckleberry Filling
| Ingredient | Quantity | Approx. Calories |
|---|---|---|
| Fresh or frozen huckleberries | 4 cups | 340 kcal |
| Granulated sugar | ½ cup | 387 kcal |
| Cornstarch | 2 tablespoons | 60 kcal |
| Lemon juice | 1 tablespoon | 4 kcal |
| Lemon zest | 1 teaspoon | 2 kcal |
| Vanilla extract | 1 teaspoon | 12 kcal |
| Ground cinnamon | ½ teaspoon | 3 kcal |
For the Crisp Topping
| Ingredient | Quantity | Approx. Calories |
|---|---|---|
| Old-fashioned rolled oats | 1 cup | 300 kcal |
| All-purpose flour | ¾ cup | 340 kcal |
| Brown sugar | ½ cup | 380 kcal |
| Unsalted butter (melted) | ½ cup | 810 kcal |
| Ground cinnamon | 1 teaspoon | 6 kcal |
| Salt | ¼ teaspoon | 0 kcal |
Step-by-Step Cooking Instructions
1: Preheat the Oven
Preheat your oven to 350°F (175°C). Lightly grease an 8×8-inch or 9-inch baking dish.
2: Prepare the Filling
In a large mixing bowl, combine the huckleberries, granulated sugar, cornstarch, lemon juice, lemon zest, vanilla extract, and cinnamon. Toss gently until the berries are evenly coated.
3: Transfer to the Baking Dish
Spread the berry mixture evenly into the prepared baking dish.
4: Make the Crisp Topping
In another bowl, mix together the rolled oats, flour, brown sugar, cinnamon, and salt. Pour in the melted butter and stir until crumbly.
5: Assemble
Evenly sprinkle the oat crumble over the huckleberry filling, covering it completely without pressing it down.
6: Bake
Bake for 40–45 minutes, or until the topping is golden brown and the berry filling is bubbling around the edges.
7: Cool Slightly
Allow the crisp to cool for 10–15 minutes before serving. This helps the filling thicken and makes serving easier.
8: Enjoy
Serve warm on its own or with your favorite topping.
Tips for Customizing the Recipe
Add More Fruit
Mix huckleberries with blueberries, blackberries, raspberries, or sliced peaches for a unique fruit combination.
Include Nuts
Add chopped pecans, walnuts, or almonds to the topping for extra crunch and flavor.
Make It Gluten-Free
Replace the all-purpose flour with a gluten-free flour blend and use certified gluten-free oats.
Reduce the Sugar
Lower the sugar slightly if your berries are naturally sweet or use coconut sugar as an alternative.
Add Warm Spices
Enhance the flavor with a pinch of nutmeg, cardamom, or allspice.
Make It Vegan
Substitute the butter with vegan butter or melted coconut oil.
Add Citrus Flavor
Orange zest can provide a fresh, bright twist that complements the berries beautifully.
Create Extra Crunch
Sprinkle sunflower seeds, pumpkin seeds, or shredded coconut into the topping before baking.
Nutritional Information
Approximate nutrition per serving
| Nutrient | Amount |
|---|---|
| Calories | 340 kcal |
| Protein | 4 g |
| Carbohydrates | 52 g |
| Fat | 14 g |
| Saturated Fat | 8 g |
| Fiber | 5 g |
| Sugar | 28 g |
| Sodium | 90 mg |
Nutrition values are estimates and may vary depending on ingredient brands and substitutions.
Serving Suggestions
Huckleberry Crisp is delicious on its own, but pairing it with complementary toppings makes it even more irresistible.
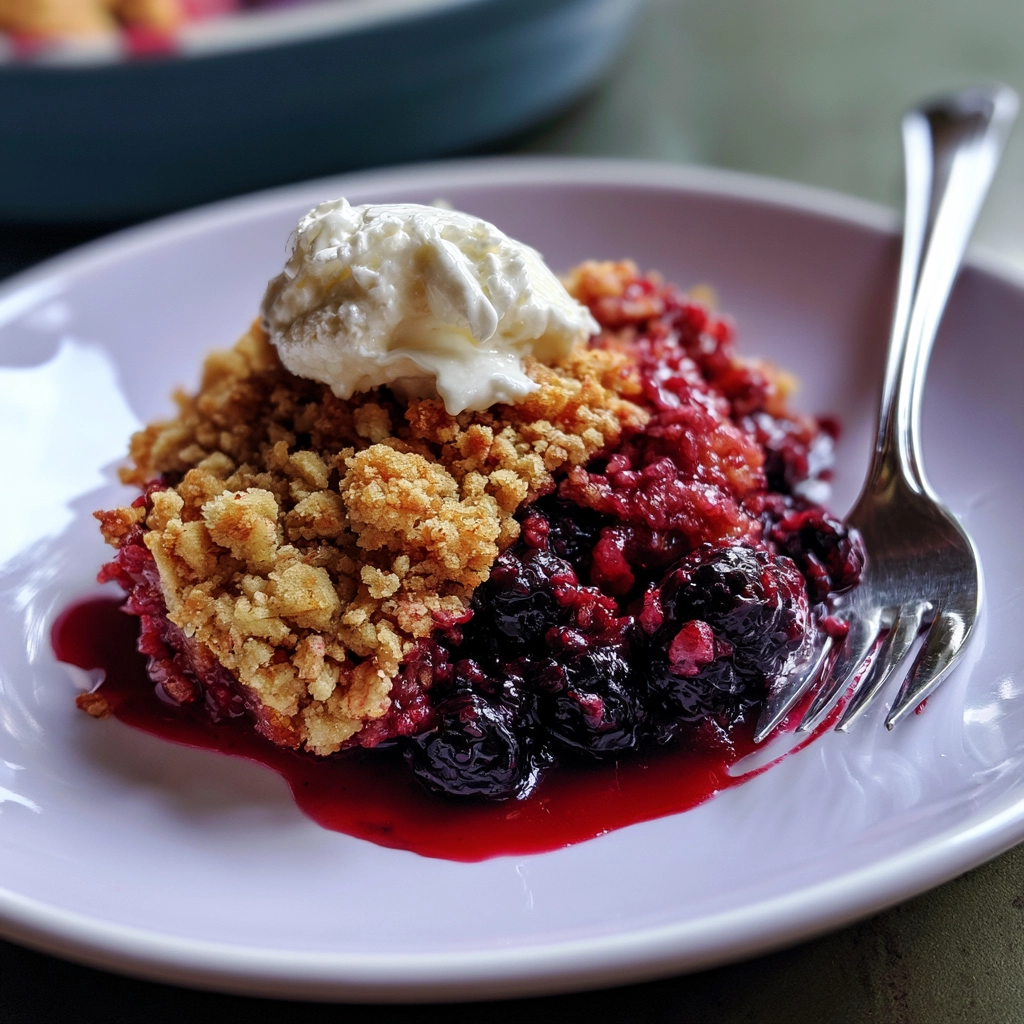
- Serve warm with a scoop of vanilla ice cream.
- Top with freshly whipped cream for a light finish.
- Enjoy with a spoonful of Greek yogurt for breakfast or brunch.
- Drizzle with warm caramel sauce for an indulgent dessert.
- Pair with hot coffee or black tea for an afternoon treat.
- Garnish with fresh mint leaves for a pop of color.
- Sprinkle with toasted almonds or pecans before serving.
- Add a dusting of powdered sugar for an elegant presentation.
- Serve alongside fresh berries for extra flavor and freshness.
- Enjoy chilled the next day as a fruity snack or dessert.
Huckleberry Crisp Recipe: A Sweet and Rustic Homemade Dessert
8 servings
servings15
minutes40
minutes340
kcalIngredients
For the Filling
4 cups fresh or frozen huckleberries
½ cup granulated sugar
2 tablespoons cornstarch
1 tablespoon lemon juice
1 teaspoon lemon zest
1 teaspoon vanilla extract
½ teaspoon ground cinnamon
For the Crisp Topping
1 cup old-fashioned rolled oats
¾ cup all-purpose flour
½ cup brown sugar
½ cup unsalted butter, melted
1 teaspoon ground cinnamon
¼ teaspoon salt
Directions
- Preheat the oven to 350°F (175°C) and lightly grease an 8×8-inch or 9-inch baking dish.
- In a large bowl, combine the huckleberries, granulated sugar, cornstarch, lemon juice, lemon zest, vanilla extract, and cinnamon.
- Spread the berry mixture evenly into the prepared baking dish.
- In a separate bowl, mix together the oats, flour, brown sugar, cinnamon, and salt.
- Stir in the melted butter until the mixture becomes crumbly.
- Sprinkle the topping evenly over the huckleberry filling.
- Bake for 40–45 minutes, or until the topping is golden brown and the filling is bubbling.
- Let the crisp cool for 10–15 minutes before serving.
Recipe Video
Notes
- Fresh and frozen huckleberries both work beautifully in this recipe. If using frozen berries, there’s no need to thaw them before baking.
Let the crisp cool for 10–15 minutes after baking to allow the filling to thicken for easier serving.
FAQs
1. What are huckleberries?
Huckleberries are small, wild berries that resemble blueberries but have a more intense sweet-tart flavor. They are commonly found in the Pacific Northwest and parts of the Rocky Mountains.
2. Can I use frozen huckleberries for this recipe?
Yes! Frozen huckleberries work just as well as fresh ones. There’s no need to thaw them before baking—just add a few extra minutes to the baking time if needed.
3. What’s the difference between a crisp and a crumble?
A crisp typically has a topping made with rolled oats, giving it a crunchy texture, while a crumble usually has a flour-based topping without oats. Both are delicious fruit desserts.
4. How do I know when the huckleberry crisp is done?
The crisp is ready when the topping is golden brown and the berry filling is bubbling around the edges. This usually takes about 40–45 minutes.
5. Can I make huckleberry crisp ahead of time?
Absolutely! You can assemble the crisp a day in advance, cover it, and refrigerate it until you’re ready to bake. It’s also delicious when reheated.
6. How should I store leftover huckleberry crisp?
Allow the crisp to cool completely, then cover it tightly or transfer it to an airtight container. Store it in the refrigerator for up to 4 days.
Conclusion
Huckleberry Crisp is a classic dessert that celebrates the naturally sweet and tangy flavor of wild huckleberries in the most comforting way. Featuring a bubbling berry filling beneath a buttery oat crumble, this easy recipe delivers a satisfying combination of textures and flavors with every bite. It’s simple enough for everyday baking yet impressive enough for holidays, potlucks, and special family dinners.