Pumpkin Pie Bars – A Cozy Twist on a Classic Fall Dessert
Pumpkin desserts have a way of stealing the spotlight once autumn rolls around, and Pumpkin Pie Bars are no exception. Imagine all the warm, spiced goodness of a traditional pumpkin pie, but in a handheld, shareable bar form. These bars are easier to serve, easier to make ahead, and ideal for gatherings where you don’t want the fuss of slicing and serving a whole pie.
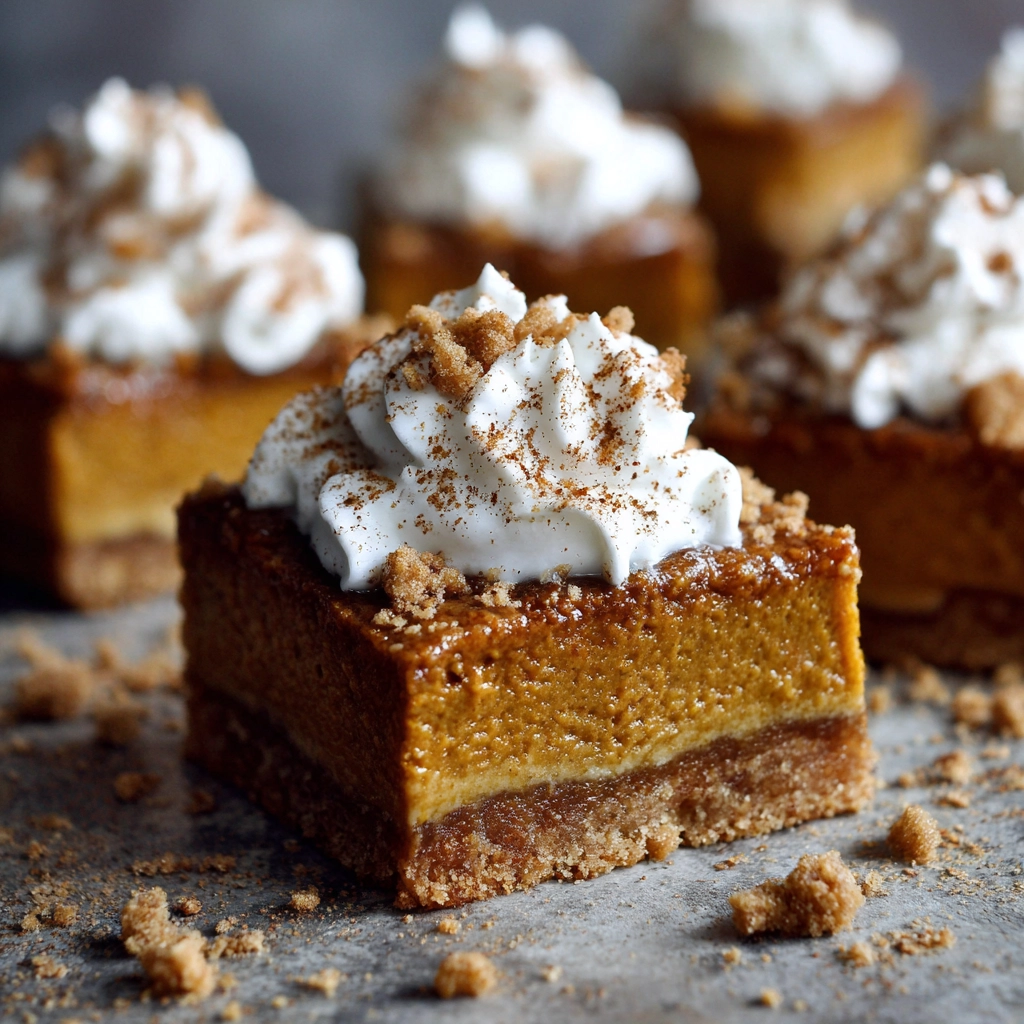
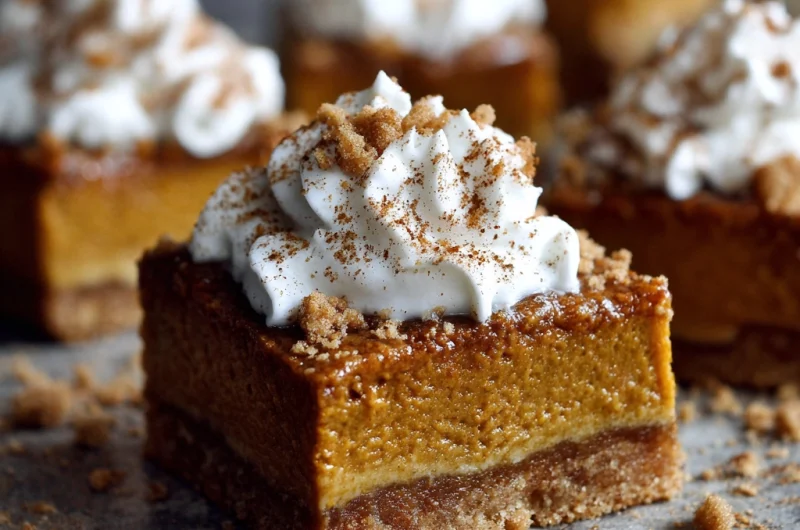
From the buttery crust to the smooth, spiced pumpkin filling, every bite captures the cozy flavors of fall. Cinnamon, nutmeg, and ginger wrap around the natural sweetness of pumpkin, while a touch of creaminess makes the texture melt in your mouth. Perfect for holiday tables, potlucks, or even a weekday treat, pumpkin pie bars offer comfort and convenience in every square.
Ingredients Needed
| Ingredient | Quantity | Calories (Approx.) |
|---|---|---|
| Graham cracker crumbs | 1 ½ cups | 600 |
| Unsalted butter (melted) | ½ cup (1 stick) | 800 |
| Granulated sugar | ½ cup | 390 |
| Cream cheese (softened) | 8 oz | 800 |
| Canned pumpkin puree | 1 ½ cups | 120 |
| Brown sugar | ½ cup | 415 |
| Large eggs | 3 | 210 |
| Heavy cream | ½ cup | 410 |
| Vanilla extract | 1 tsp | 12 |
| Ground cinnamon | 1 tsp | 6 |
| Ground ginger | ½ tsp | 3 |
| Ground nutmeg | ¼ tsp | 3 |
| Ground cloves | ¼ tsp | 2 |
| Salt | Pinch | 0 |
Step-by-Step Cooking Instructions
1: Prepare the Crust
- Preheat oven to 350°F (175°C). Line a 9×13-inch baking pan with parchment paper.
- In a bowl, mix graham cracker crumbs, melted butter, and granulated sugar until combined.
- Press mixture evenly into the bottom of the prepared pan. Bake for 8–10 minutes, then let cool slightly.
2: Make the Filling
- Beat cream cheese until smooth and creamy.
- Add pumpkin puree, brown sugar, eggs, heavy cream, and vanilla extract.
- Mix in cinnamon, ginger, nutmeg, cloves, and salt until well blended.
3: Assemble and Bake
- Pour pumpkin filling over the cooled crust.
- Smooth the top with a spatula.
- Bake for 40–45 minutes, or until the center is set but slightly jiggly.
- Cool completely, then refrigerate for at least 2 hours before cutting into bars.
Tips for Customizing the Recipe
- Nutty crust: Replace half the graham crackers with crushed pecans or walnuts for extra crunch.
- Dairy-free option: Use coconut cream instead of heavy cream and dairy-free cream cheese.
- Extra flavor: Add a splash of maple syrup or bourbon to the filling for warmth and depth.
- Topping ideas: Serve with whipped cream, caramel drizzle, or a sprinkle of candied pecans.
Nutritional Information (per bar, approx.)
| Nutrient | Amount |
|---|---|
| Calories | 290–320 |
| Protein | 4g |
| Carbohydrates | 28g |
| Fat | 18g |
| Fiber | 2g |
| Sugar | 18g |
Serving Suggestions
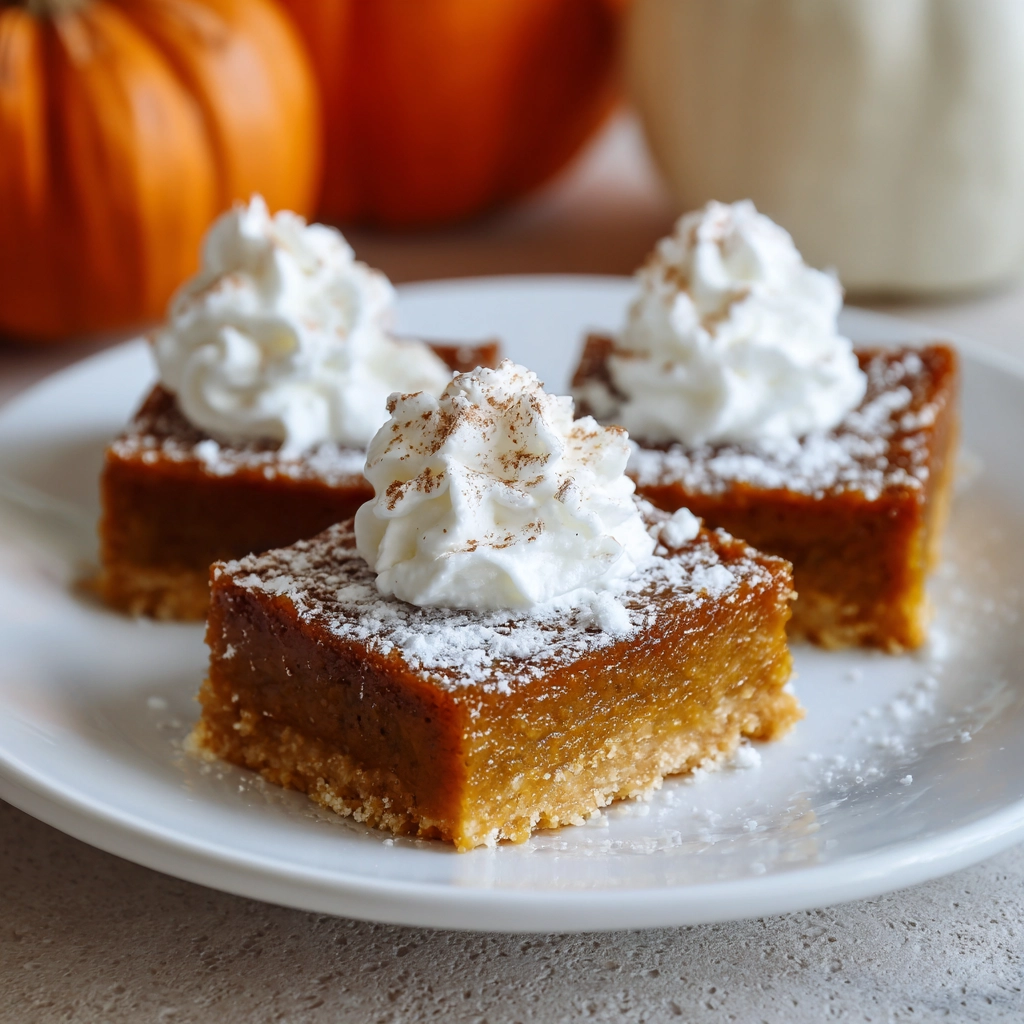
- Cut into squares and top with a dollop of whipped cream for a classic finish.
- Dust lightly with powdered sugar for a simple, elegant touch.
- Serve chilled for a firm, cheesecake-like texture, or let sit at room temperature for a softer bite.
- Pair with a hot cup of spiced chai or coffee for the ultimate cozy treat.
Pumpkin Pie Bars – A Cozy Twist on a Classic Fall Dessert
Course: Recipes12
servings20
minutes45
minutes290-320
kcalIngredients
For the Crust
1 ½ cups graham cracker crumbs
½ cup (1 stick) unsalted butter, melted
½ cup granulated sugar
For the Pumpkin Filling
8 oz cream cheese, softened
1 ½ cups canned pumpkin puree
½ cup brown sugar
3 large eggs
½ cup heavy cream
1 tsp vanilla extract
1 tsp ground cinnamon
½ tsp ground ginger
¼ tsp ground nutmeg
¼ tsp ground cloves
Pinch of salt
Directions
- Step 1: Make the Crust
- Preheat oven to 350°F (175°C). Line a 9×13-inch pan with parchment paper.
- Mix graham cracker crumbs, melted butter, and sugar until well combined.
- Press mixture firmly into the bottom of the pan.
- Bake for 8–10 minutes, then let cool slightly.
- Step 2: Prepare the Filling
- In a bowl, beat cream cheese until smooth.
- Add pumpkin puree, brown sugar, eggs, heavy cream, and vanilla.
- Stir in cinnamon, ginger, nutmeg, cloves, and salt. Mix until smooth.
- Step 3: Bake the Bars
- Pour pumpkin filling evenly over the cooled crust.
- Bake for 40–45 minutes, until the center is set but slightly jiggly.
- Cool completely, then refrigerate for at least 2 hours.
- Step 4: Serve
- Cut into squares and top with whipped cream, caramel drizzle, or a sprinkle of cinnamon.
Recipe Video
Notes
- For the best results, let your pumpkin pie bars chill for at least 2 hours—or overnight if possible. This allows the filling to fully set and makes slicing much easier. Always press the graham cracker crust firmly into the pan so it holds together after baking.
FAQs
1. Can I use fresh pumpkin instead of canned pumpkin puree?
Yes! Roast and puree fresh pumpkin until smooth. Just make sure to strain excess liquid so your filling doesn’t turn watery.
2. How long do Pumpkin Pie Bars last?
They keep well in the refrigerator for 4–5 days when stored in an airtight container.
3. Can Pumpkin Pie Bars be frozen?
Absolutely. Wrap individual bars tightly in plastic wrap, then store in an airtight freezer-safe bag. They’ll keep for up to 2 months. Thaw overnight in the fridge before serving.
4. Do Pumpkin Pie Bars need to be refrigerated?
Yes, because of the cream cheese and egg filling, they should always be refrigerated after cooling.
5. How do I keep the crust from crumbling?
Press the graham cracker crust firmly and evenly into the pan before baking. Let it cool completely before adding the filling.
6. Can I make Pumpkin Pie Bars ahead of time?
Yes! In fact, they taste even better after a night in the fridge, as the flavors deepen and the bars firm up.
Conclusion
Pumpkin Pie Bars are a delightful way to enjoy the flavors of traditional pumpkin pie in a more convenient, crowd-pleasing form. With a buttery graham cracker crust and a smooth, spiced pumpkin filling, these bars strike the perfect balance between cozy and elegant. Whether you’re hosting a fall gathering, celebrating Thanksgiving, or just craving the taste of autumn, this recipe will become a go-to favorite.