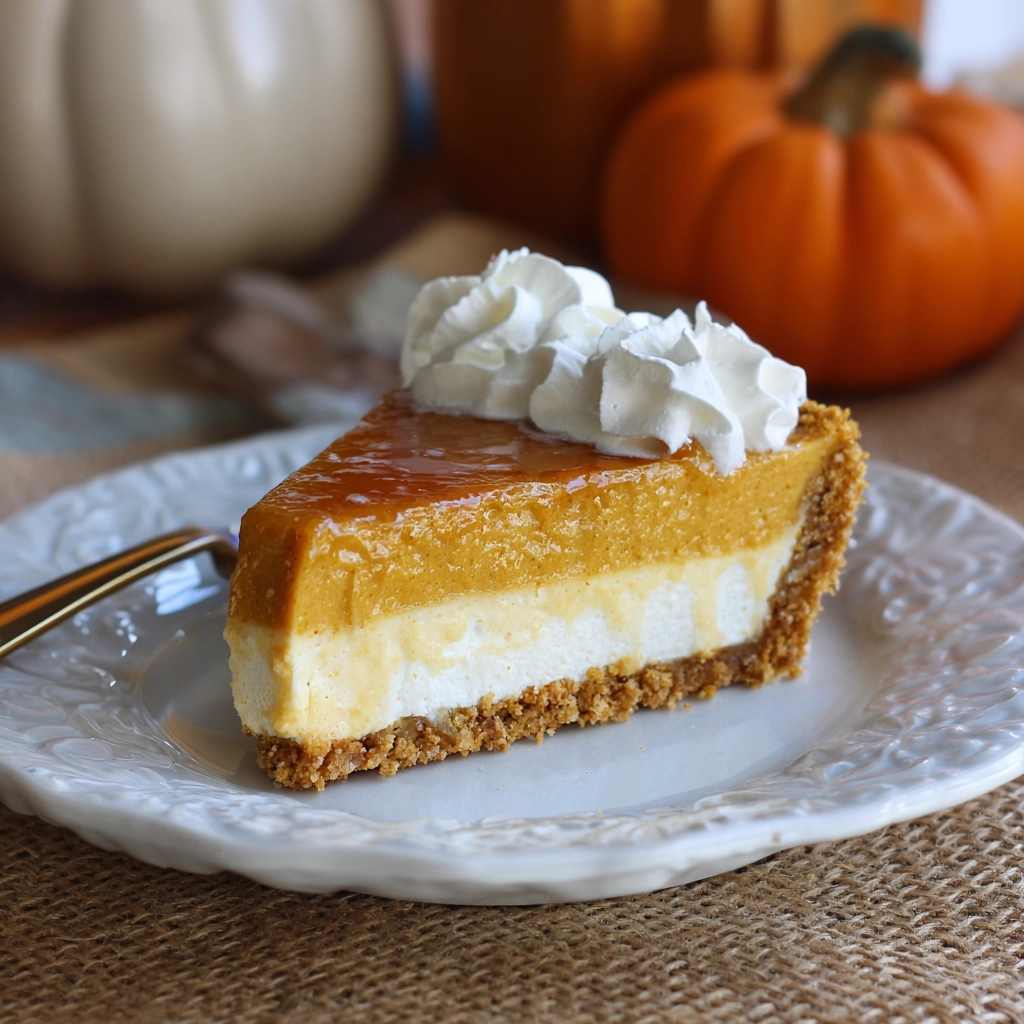
Pumpkin Cream Cheese Pie: A Silky-Smooth Fall Dessert You’ll Crave All Year
Autumn has a special way of awakening our senses—the crisp air, golden leaves, and the comforting aroma of spices filling the kitchen. Among the many desserts that define the cozy spirit of fall, Pumpkin Cream Cheese Pie stands out as a perfect blend of creamy, spiced pumpkin and rich, tangy cream cheese. It’s not just a pie—it’s a delicious harmony of textures and flavors that remind you of family gatherings, Thanksgiving feasts, and moments spent savoring something truly homemade.
Unlike traditional pumpkin pie, which can sometimes feel a bit dense, the addition of cream cheese gives this dessert a luscious, velvety texture that melts in your mouth. The flavor balance is divine: slightly sweet, gently spiced, and luxuriously creamy with a buttery crust that ties everything together. Whether you’re preparing it for a special occasion or simply want to treat yourself on a chilly evening, this pie is a guaranteed showstopper.
Ingredients Needed
| Ingredient | Quantity | Calories (Approx.) |
|---|---|---|
| Cream cheese (softened) | 8 oz (1 package) | 800 |
| Pumpkin puree (unsweetened) | 1 cup | 83 |
| Granulated sugar | ¾ cup | 580 |
| Brown sugar | ¼ cup | 210 |
| Eggs | 2 large | 140 |
| Heavy cream | ½ cup | 205 |
| Ground cinnamon | 1 tsp | 6 |
| Ground nutmeg | ½ tsp | 3 |
| Ground ginger | ½ tsp | 2 |
| Vanilla extract | 1 tsp | 12 |
| Salt | ¼ tsp | 0 |
| Pre-made graham cracker crust (9-inch) | 1 crust | 900 |
| Whipped cream (optional, for topping) | 2 tbsp per slice | 50 |
Step-by-Step Cooking Instructions
- Preheat and Prepare:
Set your oven to 350°F (175°C). If you’re using a store-bought crust, keep it in its foil pan. For a homemade graham cracker crust, press the crumbs firmly into a pie dish and chill while preparing the filling. - Make the Cream Cheese Layer:
In a mixing bowl, beat softened cream cheese until smooth and fluffy. Add ¼ cup of sugar and one egg, mixing until creamy. Pour this mixture evenly into the bottom of your pie crust and smooth it out. - Prepare the Pumpkin Filling:
In a separate bowl, combine pumpkin puree, brown sugar, remaining granulated sugar, heavy cream, one egg, and all the spices. Whisk until smooth and well blended. Add vanilla extract and stir again. - Layer and Swirl (Optional):
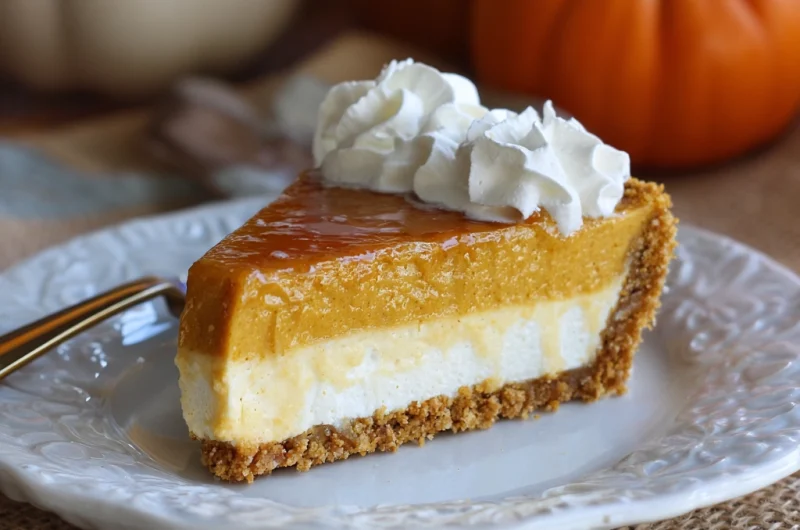
Gently spoon the pumpkin mixture over the cream cheese layer. For a marbled look, use a knife to swirl the two layers together slightly—this creates a beautiful pattern once baked. - Bake:
Place the pie in the oven and bake for 45–50 minutes, or until the center is just set and slightly jiggly. Overbaking can cause cracks, so keep an eye on it toward the end. - Cool and Chill:
Let the pie cool at room temperature for about an hour, then refrigerate for at least 4 hours (overnight is best). This step helps the flavors meld and ensures a perfect creamy texture. - Serve:
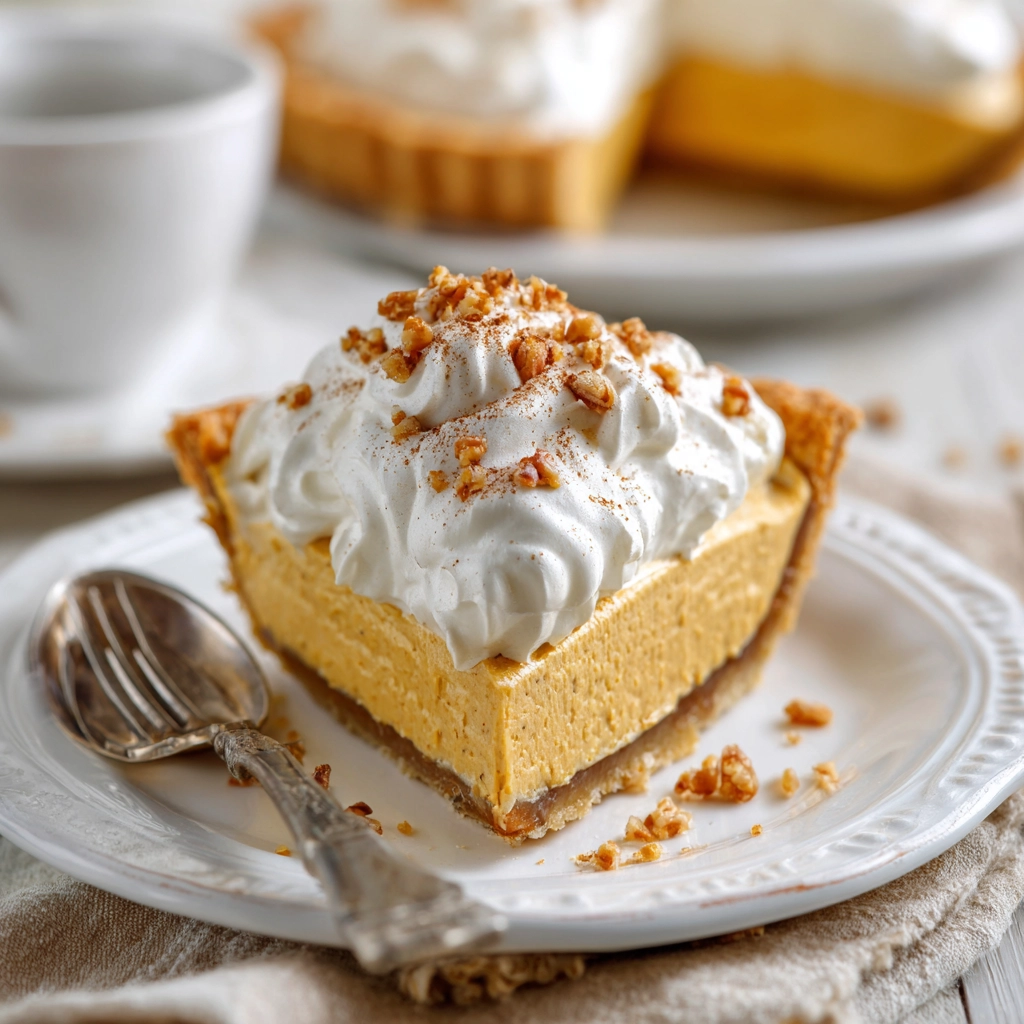
Top each slice with a dollop of whipped cream, a sprinkle of cinnamon, or crushed graham crackers for extra flair.
Tips for Customizing the Recipe
- Crust Options: Swap the graham cracker crust for a flaky pastry or gingersnap crust for a bolder flavor.
- Spice It Up: Add a pinch of clove or pumpkin pie spice if you love a stronger spice kick.
- Healthier Twist: Use low-fat cream cheese and substitute half the sugar with maple syrup or honey.
- Add Texture: Sprinkle chopped pecans or crushed toffee bits on top before baking for extra crunch.
- Dairy-Free Version: Use dairy-free cream cheese and coconut cream instead of heavy cream—still rich, still delicious!
Nutritional Information (Per Serving)
| Nutrient | Amount |
|---|---|
| Calories | ~375 kcal |
| Total Fat | 24g |
| Saturated Fat | 14g |
| Carbohydrates | 35g |
| Sugars | 24g |
| Protein | 6g |
| Fiber | 1g |
| Sodium | 220mg |
Serving Suggestions
Serve Pumpkin Cream Cheese Pie chilled or slightly cool for the best texture. Pair it with:
- A mug of hot apple cider or pumpkin spice latte for an autumn-perfect combo.
- A drizzle of caramel sauce or maple syrup for extra sweetness.
- Freshly whipped cream and a light dusting of cinnamon or cocoa powder for a café-style presentation.
If you’re hosting a dinner party, slice the pie into smaller portions and serve with mini dessert forks—guests will love the elegant touch.
Pumpkin Cream Cheese Pie: A Silky-Smooth Fall Dessert You’ll Crave All Year
8 slices
servings20
minutes50
minutes375
kcalIngredients
For the Cream Cheese Layer:
1 (8 oz) package cream cheese, softened
¼ cup granulated sugar
1 large egg, room temperature
For the Pumpkin Layer:
1 cup pumpkin puree (canned or fresh)
½ cup granulated sugar
¼ cup brown sugar
1 large egg
½ cup heavy cream
1 tsp ground cinnamon
½ tsp ground nutmeg
½ tsp ground ginger
1 tsp vanilla extract
¼ tsp salt
Crust & Topping:
1 (9-inch) graham cracker crust (store-bought or homemade)
Whipped cream (optional, for serving)
Directions
- Preheat the Oven:
- Preheat to 350°F (175°C). If using a store-bought crust, keep it in the foil pan. For homemade crusts, press crumbs into a pie dish and chill until ready.
- Make the Cream Cheese Layer:
- In a bowl, beat cream cheese until smooth. Add ¼ cup sugar and 1 egg, mixing until creamy. Spread evenly over the bottom of the pie crust.
- Mix the Pumpkin Filling:
- In a separate bowl, whisk together pumpkin puree, brown sugar, granulated sugar, egg, cream, spices, vanilla, and salt until smooth.
- Layer & Swirl:
- Pour the pumpkin mixture gently over the cream cheese layer. For a marbled look, use a knife to swirl lightly.
- Bake:
- Bake for 45–50 minutes, or until the center is mostly set but slightly jiggly. Avoid overbaking to prevent cracks.
- Cool & Chill:
- Cool at room temperature for 1 hour, then refrigerate for at least 4 hours or overnight.
- Serve & Enjoy:
- Slice and top with whipped cream, cinnamon, or caramel drizzle before serving.
Recipe Video
Notes
- Room temperature ingredients make all the difference! Make sure your cream cheese and eggs are at room temp before mixing—this helps create a smooth, lump-free filling.
Don’t rush the chilling time. Allowing the pie to set in the refrigerator for at least 4 hours (or overnight) ensures the perfect creamy, firm texture.
FAQs
1. Can I make Pumpkin Cream Cheese Pie ahead of time?
Yes! In fact, it tastes even better when made in advance. You can prepare the pie up to 2 days before serving. Simply bake, let it cool completely, cover it tightly, and refrigerate. The flavors deepen beautifully as it chills.
2. How do I prevent cracks from forming on the pie?
Cracks usually appear when the pie is overbaked or cools too quickly. To avoid this, bake just until the center is slightly jiggly, then turn off the oven and let the pie sit inside with the door slightly open for about 10 minutes before removing it to cool.
3. Can I use fresh pumpkin instead of canned puree?
Absolutely! If you prefer fresh pumpkin, roast and puree it until smooth. Be sure to strain out excess water—homemade puree tends to be more watery than canned. You’ll need about 1 cup of puree for this recipe.
4. What’s the best crust for Pumpkin Cream Cheese Pie?
A graham cracker crust is classic, but you can also use gingersnap cookies for a spicier kick or a traditional pastry crust for a flakier texture. If you’re gluten-free, try a crust made from almond flour or crushed gluten-free cookies.
5. How long does Pumpkin Cream Cheese Pie last in the fridge?
Properly stored in an airtight container or tightly covered with foil, the pie will keep for up to 4–5 days in the refrigerator. Always keep it chilled when not serving.
Conclusion
Pumpkin Cream Cheese Pie is more than a seasonal dessert—it’s an indulgent slice of comfort that brings warmth to every occasion. The creamy layers, aromatic spices, and melt-in-your-mouth texture make it an irresistible treat that captures the essence of fall. Whether you bake it for a festive gathering or just because you’re craving something special, this pie will leave everyone asking for seconds.