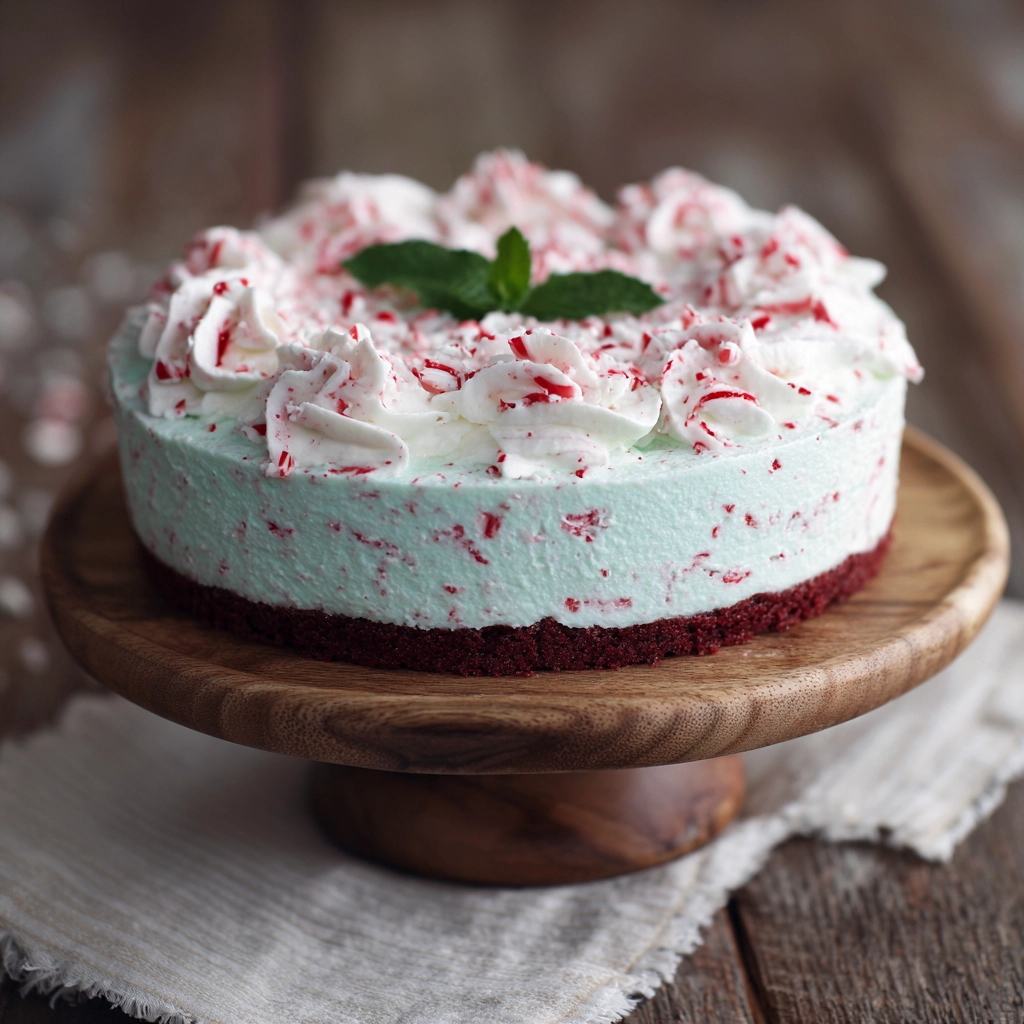
No-Bake Peppermint Cake: A Refreshing and Festive Dessert
Holiday desserts often call for indulgence, creativity, and simplicity, and the No-Bake Peppermint Cake perfectly delivers on all three. Creamy layers infused with peppermint flavor, combined with soft cookie or cake bases, create a dessert that feels both luxurious and refreshingly festive. Its no-bake preparation makes it accessible to both novice cooks and experienced bakers looking for a quick, show-stopping treat.
What makes this dessert truly special is how effortlessly it blends textures and flavors. The cool, minty cream balances the subtle sweetness of the base, while optional chocolate accents add richness and depth. Perfect for holiday gatherings, winter celebrations, or as a sweet gift, this cake brings joy to both the eyes and the taste buds. Even without an oven, it’s possible to create a dessert that rivals traditional baked cakes in flavor and presentation.
Ingredients Needed
Here’s a list of ingredients for a standard No-Bake Peppermint Cake, along with approximate calorie counts per serving:
| Ingredient | Quantity | Approx. Calories |
|---|---|---|
| Oreo cookies or chocolate wafer cookies | 24 cookies | 520 kcal |
| Heavy whipping cream | 2 cups | 1,600 kcal |
| Powdered sugar | ¼ cup | 120 kcal |
| Cream cheese (optional for richness) | 4 oz | 400 kcal |
| Peppermint extract | ½ tsp | 5 kcal |
| Crushed candy canes | ½ cup | 210 kcal |
| Chocolate shavings (optional garnish) | 2 tbsp | 100 kcal |
Step-by-Step Cooking Instructions
- Whip the cream
In a large chilled bowl, whip the heavy cream until soft peaks form. Add powdered sugar and peppermint extract, then whip until stiff peaks form. If using cream cheese, beat it in before adding sugar for extra richness. - Prepare the base
Crush the cookies slightly, leaving some chunks for texture, or leave whole for a layered effect. - Layer the cake
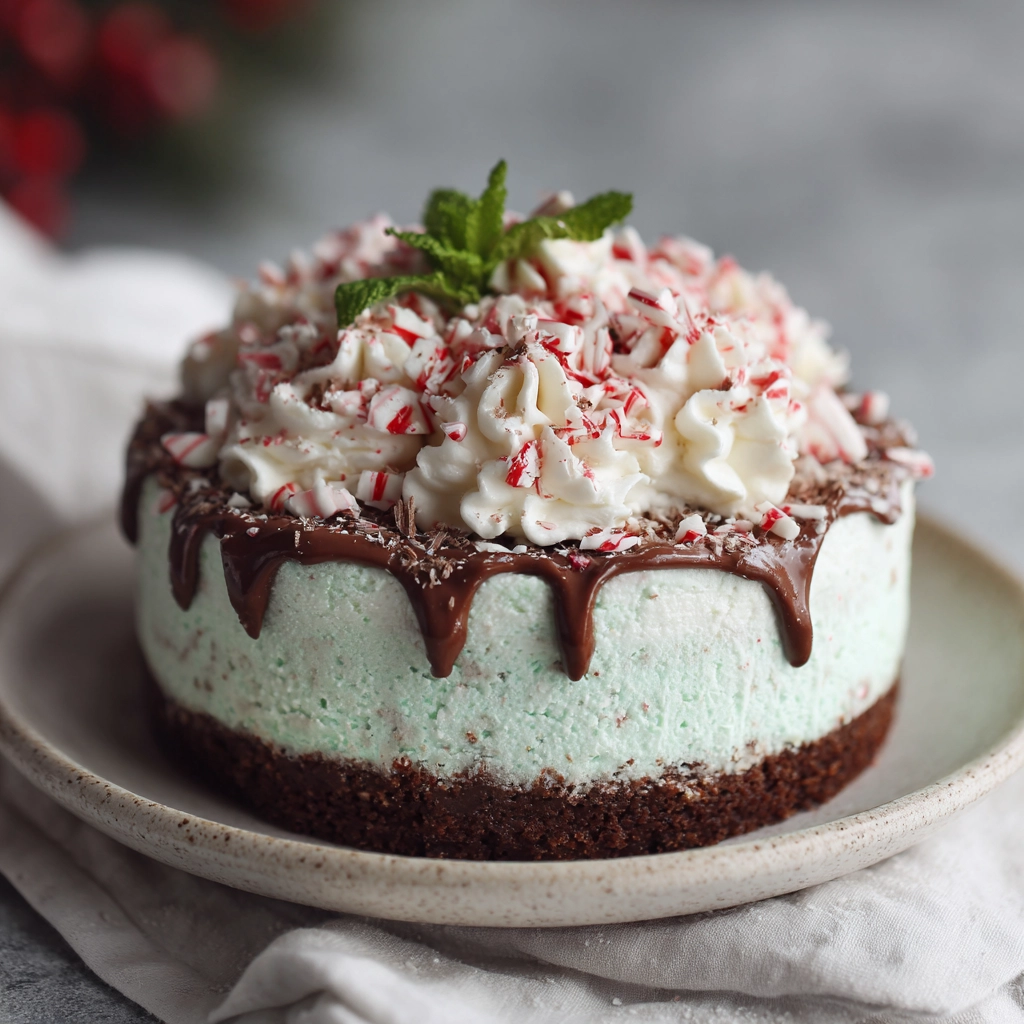
Spread a layer of whipped cream at the bottom of a 9×13-inch dish. Arrange a layer of cookies over the cream. Repeat layers, alternating whipped cream and cookies, until all ingredients are used. Top with a final layer of whipped cream. - Add peppermint garnish
Sprinkle crushed candy canes on top. Add chocolate shavings if desired for extra decoration. - Chill the cake
Cover the dish with plastic wrap and refrigerate for at least 4 hours, or overnight for the best texture. - Serve
Slice into squares or rectangles and enjoy chilled.
Tips for Customizing the Recipe
- Chocolate layers: Add a drizzle of melted dark or white chocolate between layers for extra indulgence.
- Different cookies: Use ginger snaps, shortbread, or chocolate chip cookies for varied flavors.
- Nutty addition: Sprinkle finely chopped nuts like almonds or pistachios for crunch.
- Dairy-free option: Substitute coconut cream or non-dairy whipped cream to make it vegan-friendly.
- Mint intensity: Adjust peppermint extract according to preference; a few drops go a long way.
- Festive touch: Top with edible glitter, sprinkles, or candy canes for a holiday presentation.
Nutritional Information
| Nutrient | Amount |
|---|---|
| Calories | ~250 kcal |
| Fat | 16 g |
| Carbohydrates | 25 g |
| Sugar | 18 g |
| Protein | 3 g |
Serving Suggestions
- Pair with a cup of hot cocoa or peppermint coffee for a cozy winter treat.
- Serve on a holiday dessert platter alongside cookies and brownies.
- Wrap slices individually for festive gifts.
- Top slices with additional candy canes or chocolate shavings to impress guests.
No-Bake Peppermint Cake: A Refreshing and Festive Dessert
Course: Recipes12 slices
servings15
minutes4
hours250
kcalIngredients
24 Oreo cookies or chocolate wafer cookies
2 cups heavy whipping cream
¼ cup powdered sugar
4 oz cream cheese (optional for richness)
½ teaspoon peppermint extract
½ cup crushed candy canes
2 tbsp chocolate shavings (optional garnish)
Directions
- Whip the heavy cream in a chilled bowl until soft peaks form. Add powdered sugar and peppermint extract, then whip until stiff peaks form. Beat in cream cheese if using.
- Crush cookies slightly, leaving some chunks for texture, or leave whole for layered effect.
- Spread a layer of whipped cream at the bottom of a 9×13-inch dish. Arrange a layer of cookies over the cream. Repeat layers until all ingredients are used, finishing with whipped cream.
- Sprinkle crushed candy canes and chocolate shavings on top for garnish.
- Cover and refrigerate for at least 4 hours, or overnight for best results.
- Slice into squares and serve chilled.
Recipe Video
Notes
- Cookie choice matters: Oreo cookies or chocolate wafer cookies hold up best, providing structure while softening slightly to create a cake-like texture.
Whipping tips: Chill your mixing bowl and beaters for better volume. Stop whipping when stiff peaks form to prevent over-whipping.
FAQs
1. How long should I chill the No-Bake Peppermint Cake?
For the best texture and flavor, refrigerate the cake for at least 4 hours, but overnight chilling is ideal. This allows the layers to set and the flavors to meld.
2. Can I make this cake ahead of time?
Yes! This cake is perfect for make-ahead desserts. Prepare it a day in advance and store it in the refrigerator until ready to serve.
3. Can I use other cookies instead of Oreos?
Absolutely! Chocolate wafer cookies, ginger snaps, or shortbread cookies work well. Choose cookies that hold their shape but soften slightly when chilled.
4. How can I make it extra minty?
Increase the peppermint extract slightly or sprinkle extra crushed candy canes between layers. Taste as you go to avoid overpowering the dessert.
5. Is it possible to make a dairy-free version?
Yes! Substitute coconut cream or non-dairy whipped cream for the heavy cream and choose dairy-free cookies. This makes the cake vegan-friendly while keeping it delicious.
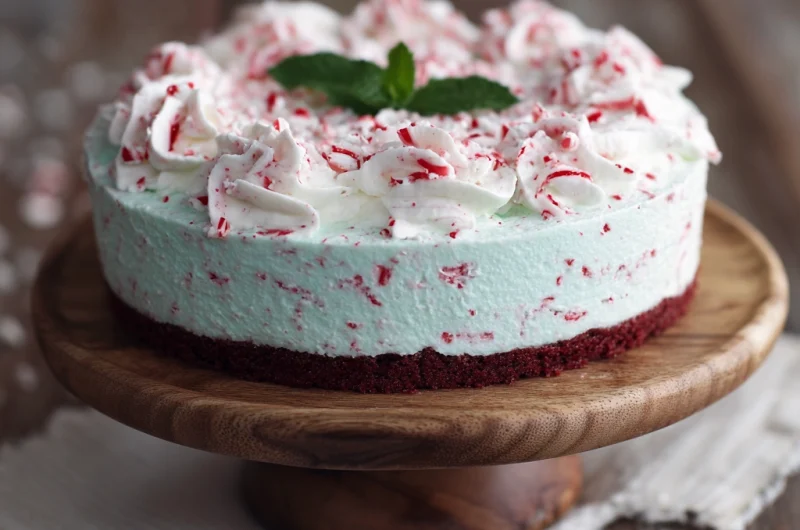
Conclusion
The No-Bake Peppermint Cake shows that festive desserts don’t need complicated baking to impress. Its creamy layers, peppermint flavor, and optional chocolate accents make it a holiday favorite that’s easy to prepare, visually stunning, and absolutely delicious. Perfect for celebrations, gifting, or simply indulging, this cake brings together all the joy and flavor of the season in every chilled slice.