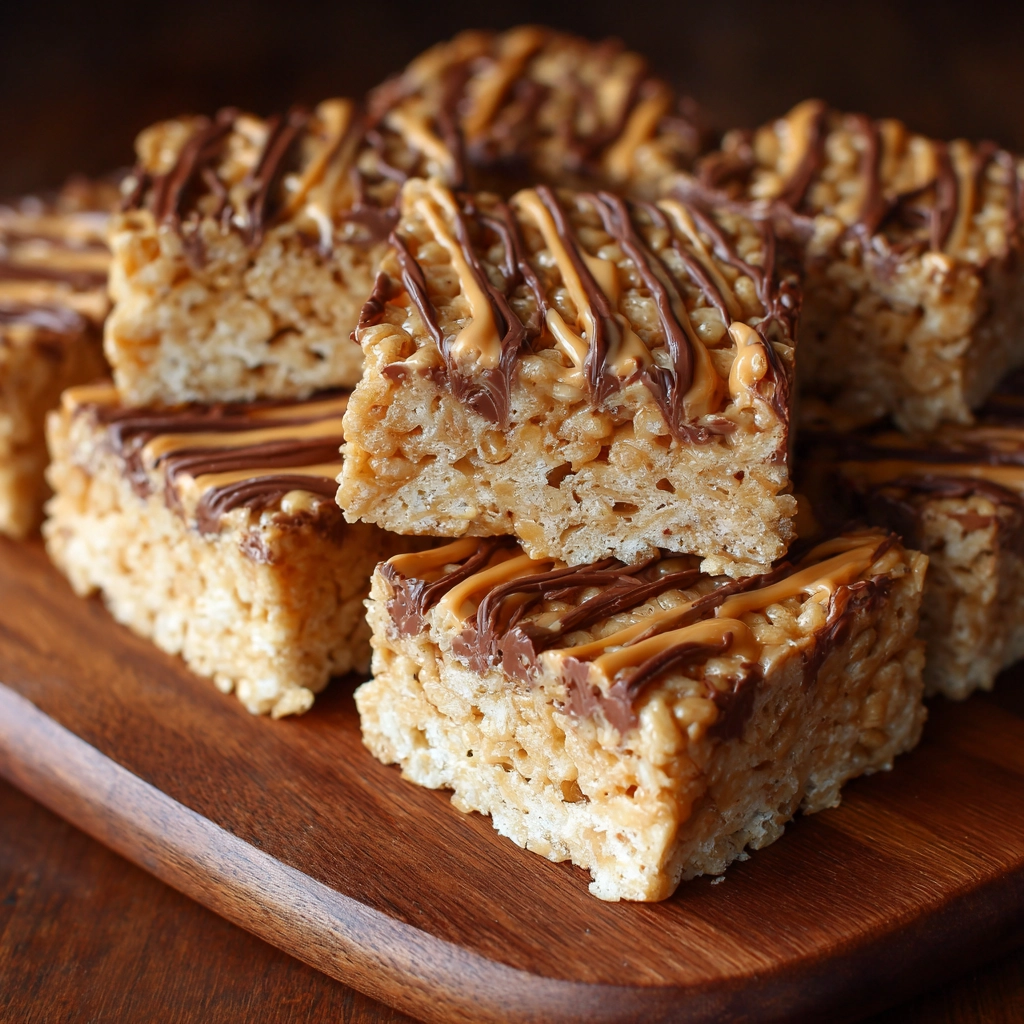
Peanut Butter Rice Krispie Treats: Sweet, Crunchy, and Irresistibly Delicious
Peanut Butter Rice Krispie Treats combine the nostalgia of classic childhood snacks with a rich, nutty twist. The combination of gooey marshmallows, crunchy rice cereal, and creamy peanut butter creates a treat that is both fun to make and impossible to resist. These bars are perfect for lunchboxes, after-school snacks, holiday treats, or even a quick homemade dessert when a sweet craving strikes.
Making Peanut Butter Rice Krispie Treats at home elevates them beyond store-bought versions. You can control the sweetness, adjust the peanut butter flavor to your liking, and even experiment with mix-ins like chocolate chips, nuts, or dried fruits. The simplicity of the recipe makes it accessible for bakers of all skill levels, while the rich flavor ensures it’s loved by kids and adults alike.
Ingredients Needed
Here’s a list of ingredients along with approximate calorie counts per serving:
| Ingredient | Quantity | Approx. Calories |
|---|---|---|
| Rice Krispies cereal | 6 cups | 210 kcal |
| Marshmallows | 4 cups | 400 kcal |
| Peanut butter | 1 cup (250 g) | 1,500 kcal |
| Butter | ¼ cup (56 g) | 400 kcal |
| Vanilla extract | 1 teaspoon | 12 kcal |
| Salt | ¼ teaspoon | 0 kcal |
| Chocolate chips (optional) | ½ cup | 400 kcal |
Step-by-Step Cooking Instructions
- Prepare the pan
Grease a 9×13-inch baking dish with butter or line it with parchment paper. - Melt the butter and peanut butter
In a large saucepan over low heat, melt the butter and peanut butter together until smooth and combined. - Add marshmallows
Stir in the marshmallows until fully melted and smooth. Remove from heat and mix in the vanilla extract and salt. - Combine with cereal
Pour the Rice Krispies cereal into the peanut butter-marshmallow mixture. Stir gently until the cereal is evenly coated. - Transfer to pan
Press the mixture into the prepared baking dish using a buttered spatula or lightly greased hands. Press evenly but gently to avoid crushing the cereal. - Add optional toppings
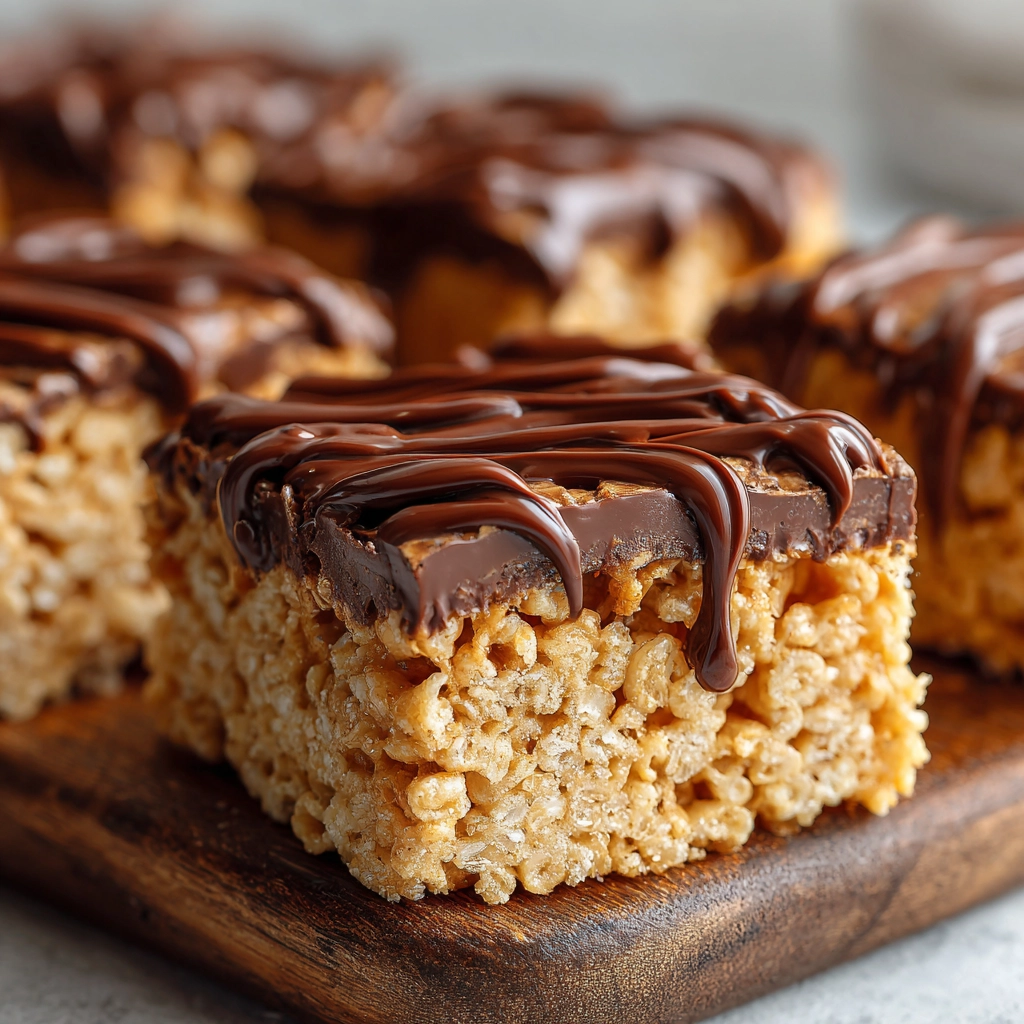
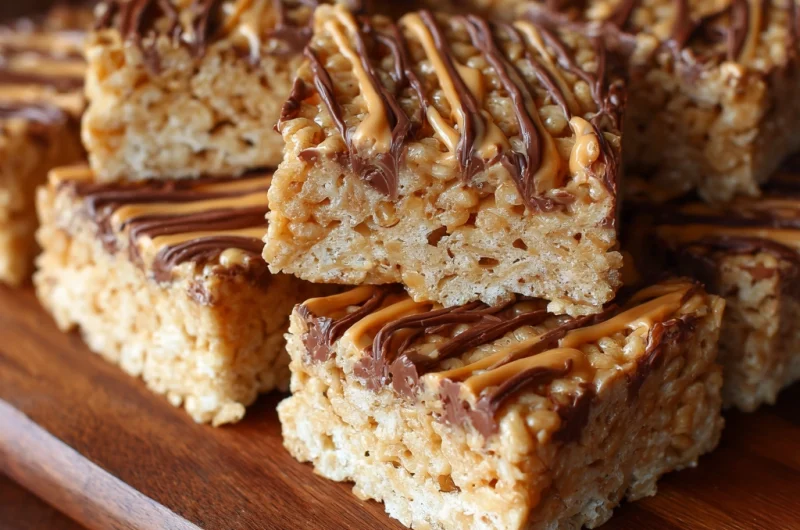
Sprinkle chocolate chips on top while the mixture is still warm, allowing them to melt slightly for extra indulgence. - Cool and cut
Let the treats cool at room temperature for about 30 minutes. Cut into squares or rectangles and serve.
Tips for Customizing the Recipe
- Nut variations: Use almond butter, cashew butter, or sunflower seed butter for different flavors.
- Chocolate twist: Mix in chocolate chips or drizzle melted chocolate on top.
- Crunch factor: Add chopped peanuts, M&Ms, or crispy cereal bits for extra texture.
- Mini treats: Press into silicone molds for fun, individual servings.
- Healthier option: Use natural peanut butter and whole-grain cereal, and reduce marshmallows slightly.
Nutritional Information (Per 1 Serving – Approx.)
| Nutrient | Amount |
|---|---|
| Calories | 250–300 kcal |
| Carbohydrates | 35 g |
| Protein | 6 g |
| Fat | 12 g |
| Fiber | 2 g |
| Sugar | 20 g |
Serving Suggestions
- Serve with milk or a hot beverage for a nostalgic snack.
- Pack as lunchbox treats or after-school snacks.
- Include on dessert tables at parties or holiday gatherings.
- Cut into fun shapes using cookie cutters for themed celebrations.
- Wrap individually in parchment paper for on-the-go snacks.
Peanut Butter Rice Krispie Treats: Sweet, Crunchy, and Irresistibly Delicious
12
servings10
minutes5
minutes3250-300
kcalIngredients
IngredienttQuantity
Rice Krispies cerealt6 cups
Marshmallowst4 cups
Peanut buttert1 cup (250 g)
Buttert¼ cup (56 g)
Vanilla extractt1 teaspoon
Saltt¼ teaspoon
Chocolate chips (optional)t½ cup
Directions
- Grease a 9×13-inch baking dish or line with parchment paper.
- In a large saucepan over low heat, melt butter and peanut butter together until smooth.
- Add marshmallows and stir until fully melted and combined. Remove from heat.
- Mix in vanilla extract and salt.
- Pour in Rice Krispies cereal and stir until evenly coated.
- Transfer mixture to the prepared pan and press gently with a buttered spatula or hands.
- (Optional) Sprinkle chocolate chips on top while still warm.
- Let cool at room temperature for about 30 minutes, then cut into squares or rectangles.
Recipe Video
Notes
- For the best results, use soft, fresh marshmallows to ensure the mixture melts smoothly and binds the cereal together. Lightly grease your hands or spatula when pressing the mixture into the pan to prevent sticking.
FAQs
1. Can I make Peanut Butter Rice Krispie Treats without marshmallows?
Yes! You can substitute marshmallows with honey, corn syrup, or a mixture of peanut butter and sweetened condensed milk to help bind the cereal together.
2. Can I use a different nut butter?
Absolutely! Almond butter, cashew butter, or sunflower seed butter work well. Keep in mind that flavors may change slightly, but the texture will remain delicious.
3. How do I keep the treats from sticking?
Grease your hands and spatula lightly when pressing the mixture into the pan. Using parchment paper or a silicone baking mat in the pan also prevents sticking.
4. How long do Peanut Butter Rice Krispie Treats last?
Store them in an airtight container at room temperature for up to 3–4 days. They can also be stored in the refrigerator for up to a week or frozen for up to a month.
5. Can I make mini or fun-shaped treats?
Yes! Press the mixture into silicone molds or cookie cutters to create bite-sized or themed shapes, perfect for parties or kids’ lunches.
Conclusion
Peanut Butter Rice Krispie Treats are a quick, easy, and delicious snack that combines the creamy richness of peanut butter with the satisfying crunch of Rice Krispies cereal. Perfect for kids, adults, and parties, they are versatile, customizable, and crowd-pleasing. Making these treats at home allows you to control sweetness, add fun mix-ins, and create a nostalgic snack everyone will love. Whether enjoyed as a treat after school, a dessert, or a sweet gift, Peanut Butter Rice Krispie Treats are guaranteed to bring smiles with every bite.