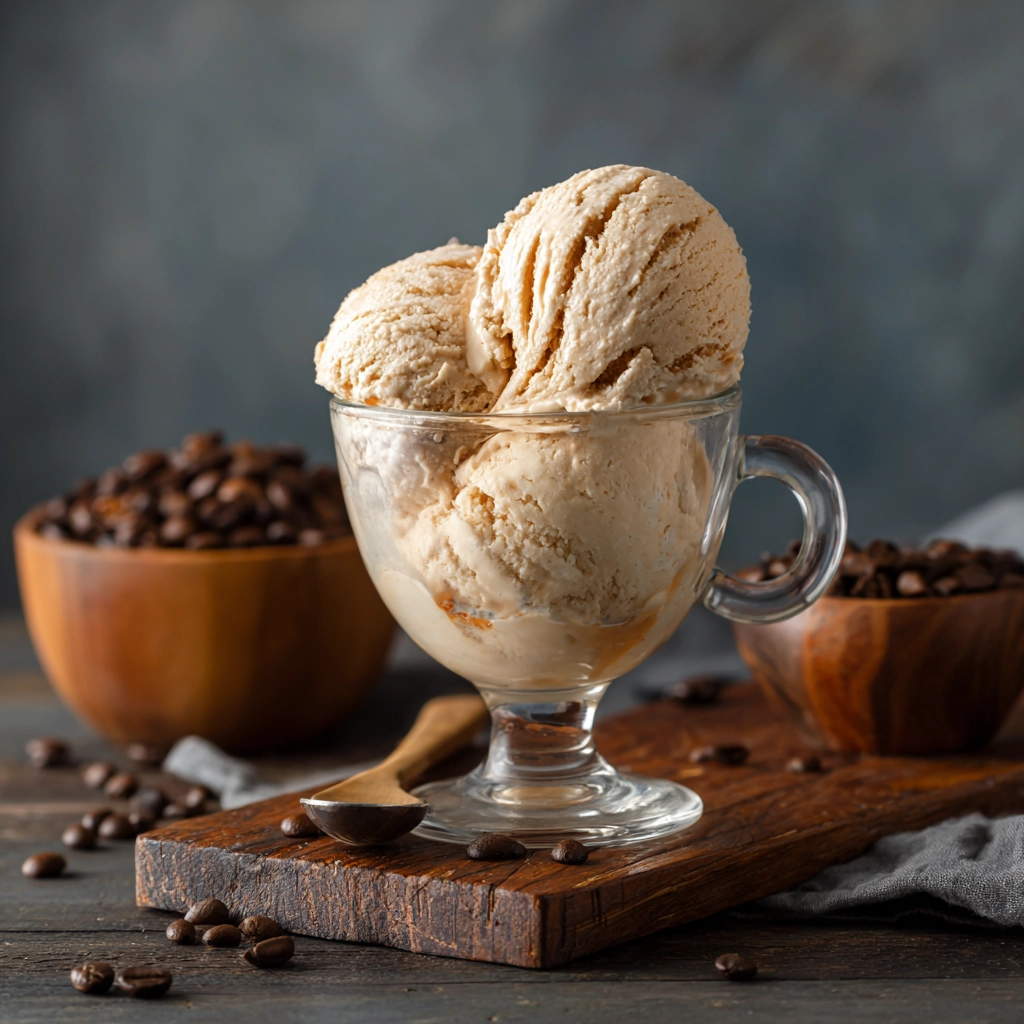
Coffee Ice Cream Recipes – A Creamy Treat for Coffee Lovers
Nothing feels more indulgent than the first spoonful of creamy coffee ice cream, especially when the bold aroma of freshly brewed coffee blends with a smooth, velvety texture. Coffee ice cream has become a favorite for those who love the comforting taste of coffee but crave it in a chilled, sweet form. Whether enjoyed on its own, scooped into a cone, or paired with brownies and cakes, this dessert always delivers a balance of richness and refreshment.
Making homemade coffee ice cream is surprisingly simple, and with the right recipe, you can skip store-bought versions and enjoy a batch made just the way you like it. The beauty of coffee ice cream recipes is that they can be customized—strong and bold for espresso fans, or light and creamy for those who prefer a milder flavor. Plus, with just a few basic ingredients, you’ll be able to whip up a dessert that feels gourmet but is entirely achievable in your own kitchen.
Ingredients Needed
Here’s a simple list of ingredients with their approximate calorie count:
| Ingredient | Amount | Calories |
|---|---|---|
| Heavy Cream | 2 cups | 800 |
| Whole Milk | 1 cup | 150 |
| Granulated Sugar | ¾ cup | 600 |
| Egg Yolks | 4 large | 220 |
| Instant Coffee/Espresso | 2 tbsp | 20 |
| Vanilla Extract | 1 tsp | 12 |
| Pinch of Salt | – | 0 |
Step-by-Step Cooking Instructions
- Heat the base – In a medium saucepan, combine milk, heavy cream, and half the sugar. Warm over medium heat until steaming, but do not let it boil.
- Mix egg yolks – In a separate bowl, whisk egg yolks with the remaining sugar until pale and slightly thickened.
- Temper the yolks – Slowly pour a small amount of the hot cream mixture into the yolks while whisking constantly. Then, gradually add the yolk mixture back into the saucepan.
- Infuse coffee flavor – Stir in the instant coffee or espresso until dissolved. Cook over low heat until the mixture thickens enough to coat the back of a spoon.
- Chill completely – Remove from heat, stir in vanilla extract and salt, and let it cool. Cover and refrigerate for at least 4 hours or overnight.
- Churn into ice cream – Pour the chilled custard into an ice cream maker and churn according to manufacturer’s instructions until creamy.
- Freeze until firm – Transfer to an airtight container and freeze for 4–6 hours before serving.
Tips for Customizing the Recipe
- Stronger Coffee Flavor: Use freshly brewed espresso instead of instant coffee for a richer taste.
- Mocha Twist: Add 2 tablespoons of cocoa powder or melted chocolate for a coffee-chocolate blend.
- Vegan Option: Replace dairy with coconut milk and almond milk, and use a plant-based sweetener.
- Texture Boost: Mix in crushed chocolate-covered espresso beans, caramel swirls, or cookie chunks.
- Less Sweet Version: Reduce the sugar to ½ cup if you prefer a more coffee-forward flavor.
Nutritional Information (per serving ~½ cup)
| Nutrient | Amount |
|---|---|
| Calories | ~280 |
| Protein | 4 g |
| Fat | 18 g |
| Saturated Fat | 10 g |
| Carbohydrates | 25 g |
| Sugar | 23 g |
| Fiber | 0 g |
| Sodium | 35 mg |
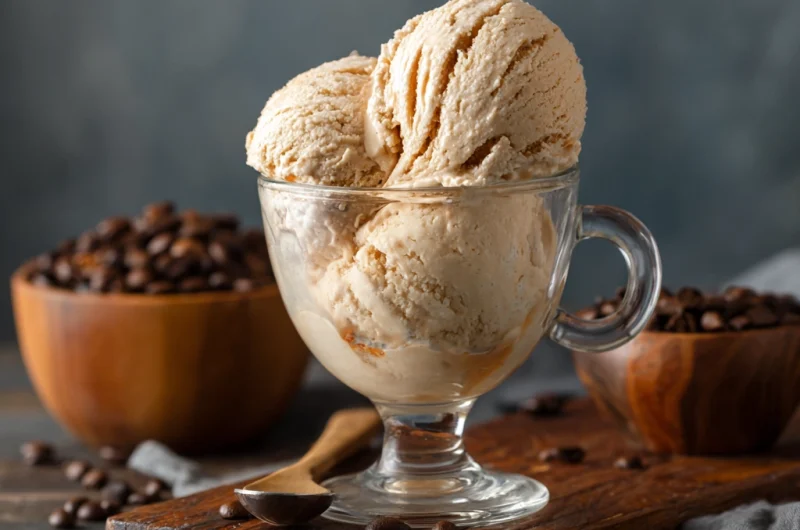
Serving Suggestions
- Serve in waffle cones or bowls for a classic treat.
- Pair with a warm slice of chocolate cake or fudgy brownies for a coffee-chocolate dream dessert.
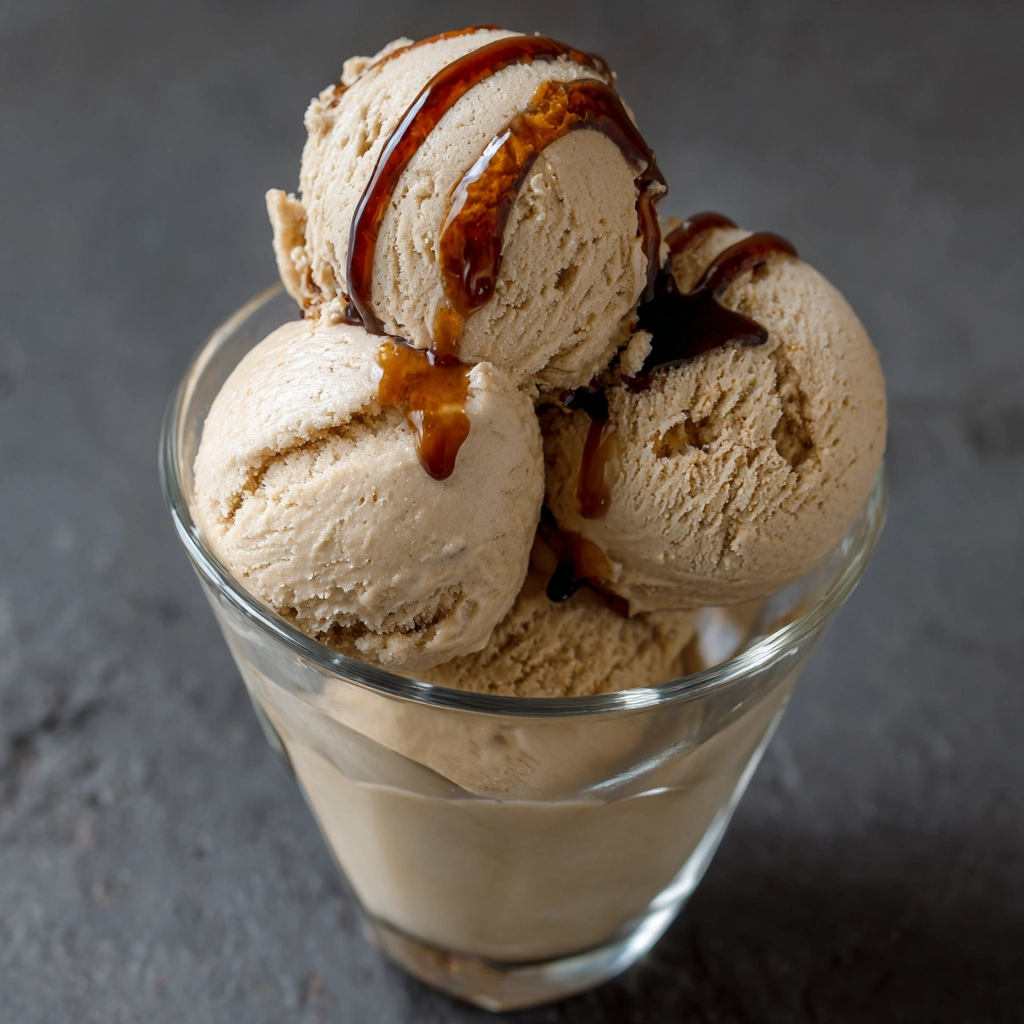
- Top with whipped cream, chocolate syrup, or caramel drizzle for an extra indulgence.
- Use as a base for an affogato by pouring hot espresso over a scoop of coffee ice cream.
- Make ice cream sandwiches using chocolate chip cookies or brownies.
Coffee Ice Cream Recipes – A Creamy Treat for Coffee Lovers
Course: Uncategorized6
servings15
minutes8
hours280
kcalIngredients
2 cups heavy cream
1 cup whole milk
¾ cup granulated sugar
2 tbsp instant espresso powder (or ½ cup strong brewed espresso, cooled)
1 tsp vanilla extract
Pinch of salt
Directions
- In a medium bowl, whisk together sugar, coffee, vanilla, and salt until the sugar dissolves.
- Stir in the milk and heavy cream until fully combined.
- If using an ice cream maker, pour the mixture into the machine and churn according to the manufacturer’s instructions.
- For a no-churn version, whip the cream until soft peaks form, fold in sweetened coffee mixture, and transfer to a loaf pan.
- Cover tightly and freeze for 6–8 hours or overnight until firm.
- Scoop and serve with your favorite toppings.
Recipe Video
Notes
- For a stronger flavor, increase the espresso powder by 1 extra tablespoon.
If you prefer a lighter, more subtle coffee taste, reduce the coffee amount slightly.
Mix-ins like chocolate chips, caramel swirls, or crushed cookies make this ice cream even more indulgent.
FAQs
1: Can I make coffee ice cream without an ice cream maker?
Yes, you can! Simply whip heavy cream until soft peaks form, fold in a sweetened condensed milk and coffee mixture, then freeze overnight. This no-churn method is simple and produces creamy results.
2: Which type of coffee is best for making coffee ice cream?
Strongly brewed espresso or instant espresso powder works best because it gives a rich and bold coffee flavor. You can adjust the strength depending on how intense you want the taste.
3: Can I make coffee ice cream dairy-free or vegan?
Absolutely. Substitute dairy cream with coconut cream or almond milk and use a plant-based condensed milk or cashew cream. Vegan coffee ice cream tastes just as creamy and indulgent.
4: How can I prevent homemade ice cream from getting icy?
To avoid ice crystals, make sure your mixture is well-chilled before freezing and store it in an airtight container. Adding a little sugar or corn syrup also helps keep it smooth.
5: Can I add mix-ins to my coffee ice cream?
Yes! Popular add-ins include chocolate chips, caramel swirls, crushed Oreos, or even chunks of brownies. Mix them in after the ice cream is partially frozen for the best texture.
Conclusion
Homemade coffee ice cream is the perfect way to enjoy the deep, robust flavors of coffee in a creamy and refreshing dessert. With only a handful of ingredients and a bit of patience, you can create a treat that’s as good—or even better—than what you’d find in an ice cream shop. Whether you keep it classic or experiment with mix-ins and flavors, this recipe is sure to become a go-to for coffee lovers and dessert enthusiasts alike.